Hope everyone had a great weekend! For today’s lesson let me start by saying my full-time job is a Clinical Research Coordinator. I wear scrubs, draw blood, perform EKG’s, and do lots of paperwork. If you have a great stylist by all means support them! Caden had one stylist that we went to religiously from the age of 1-4, she moved locations and I didn’t know how to get a hold of her. I am still very sad. After trying out a few others and it was just ok, I decided to try myself. My son has hair like a chia pet! It grows so fast! I was going once or twice a month for cuts so I thought this is something that looks fun and doable. I have been cutting my son’s hair since. Good thing about boy’s hair it grows fast if you mess up, BUT a mess up will show easily. I can promise fixed hair always looks better than fresh unfixed hair. Gel can do wonders to help any cut, even a bad one!
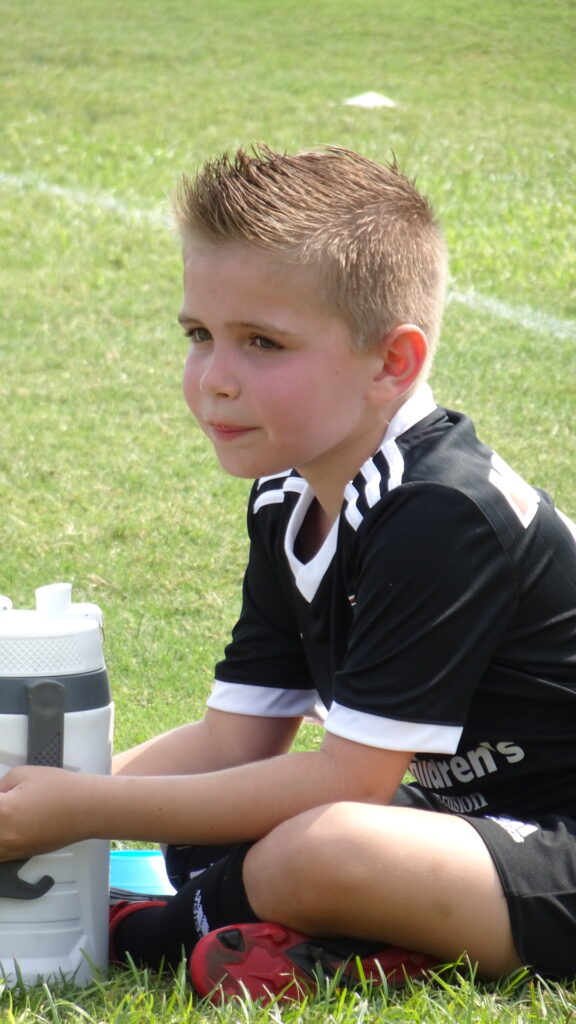
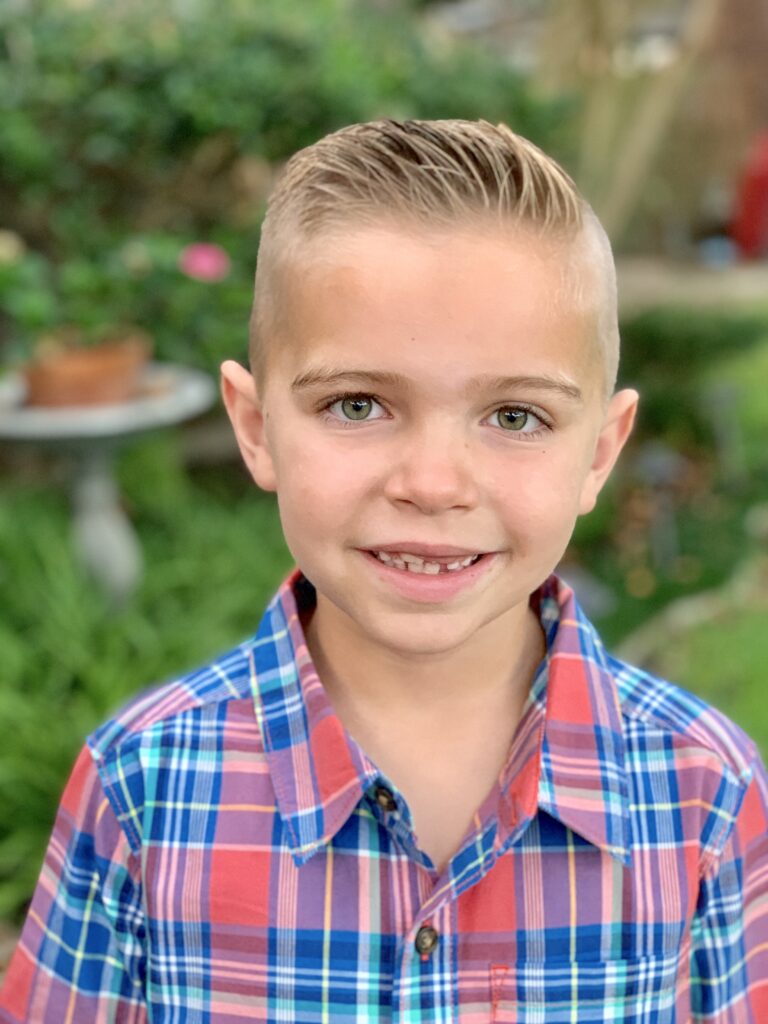
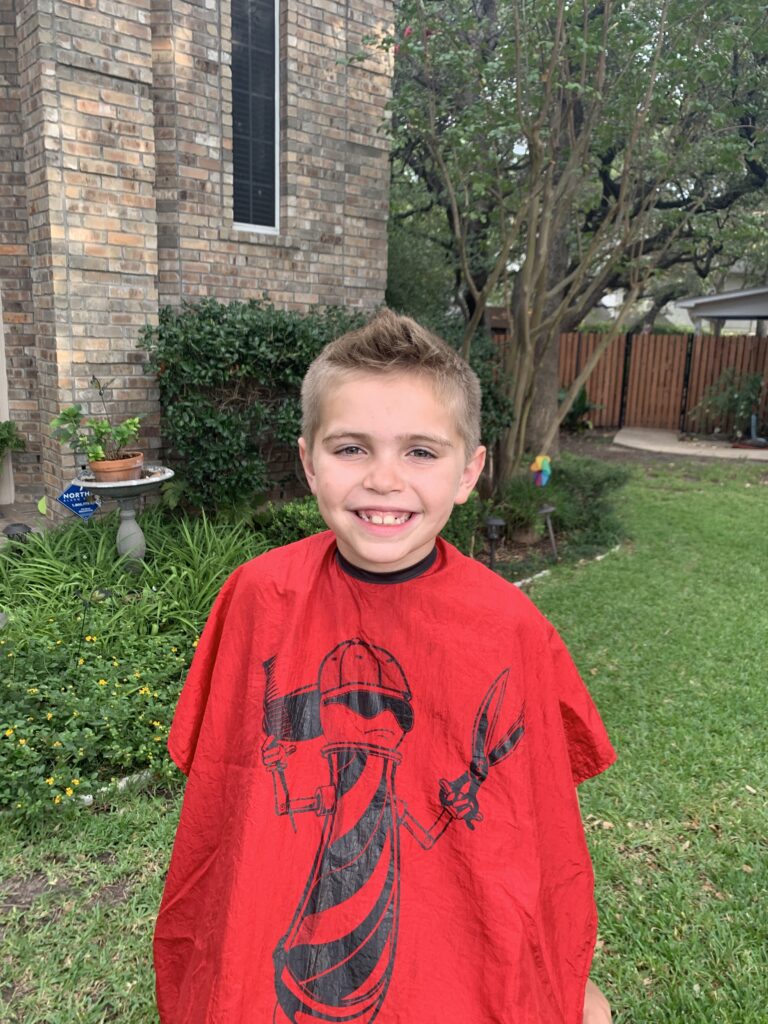
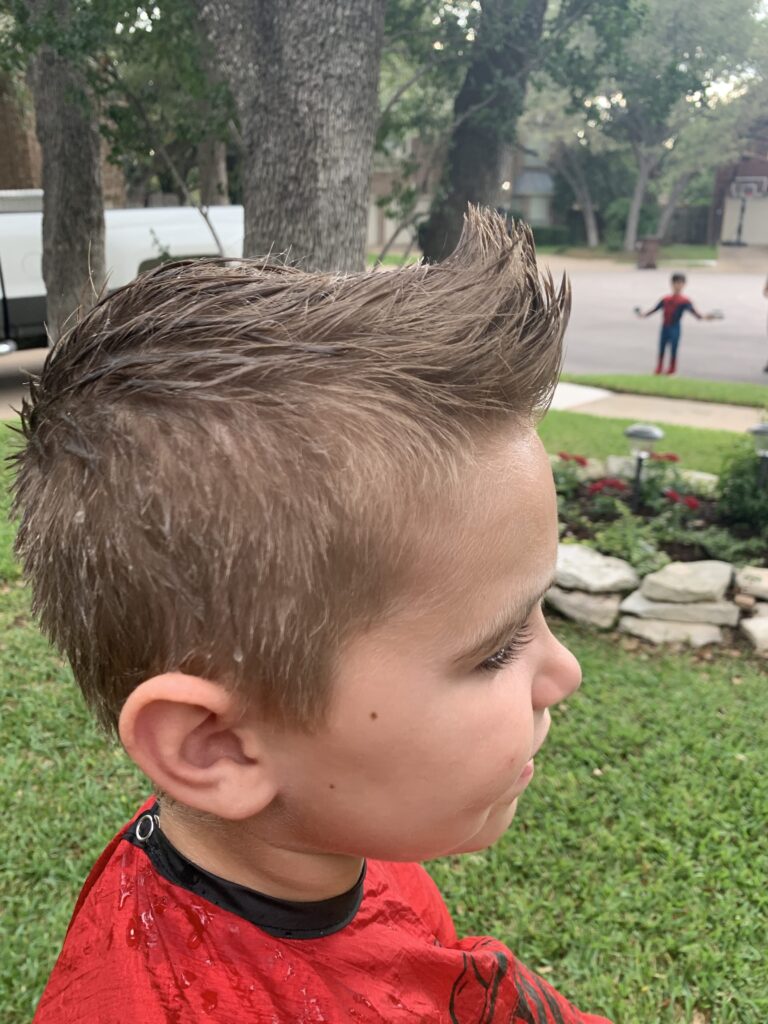
I’ve had a lot of people ask about where I go or how I do Caden’s cut and since we were doing one last night I decided to write about it today. For Caden’s hair we rotate between about 3 cuts all pretty similar. We tried to let his hair grow out during quarantine but it quickly became hot and he wanted it short again. Sometimes it is longer on top and over to the side, sometimes it’s short so we can do a foe hawk, sometimes it’s very short with some spike in the front. For Soccer season we like the little foe hawk look so this is what I did last night.
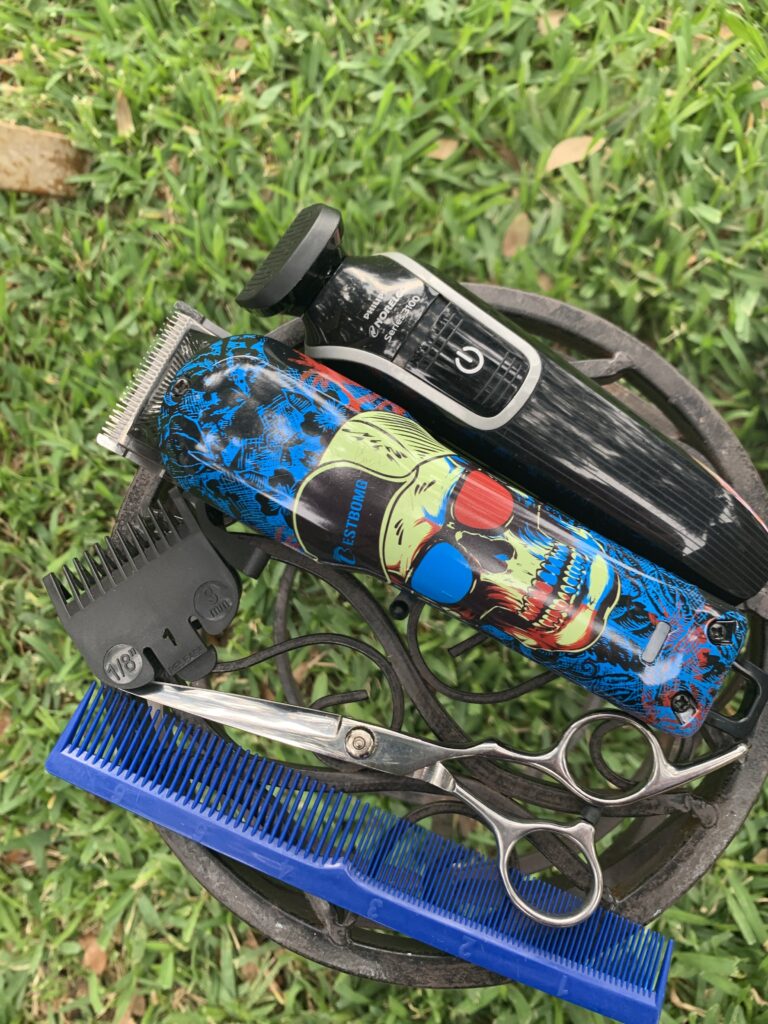
I started out with the Philips clippers that have an adjustable guard. Sometimes they would pull Caden’s hair so I bought some others that were recommended on Amazon and haven’t had issues since. Now I just use the Philips to clean up at the end. The skeleton clippers came with a variety of guards and hair cutting scissors that also makes a big difference. You want a good flat comb so you can blend with the clippers when needed.
Here is the one I have and one I would have chosen if I didn’t already have all the other accessories. The Wahl Home Barbers Hair-cutting Kit has 30 pieces including the clipper, clipper blade cover, detail trimmer, trimmer blade cover, personal trimmer with a detail and fine detail heads, 12 attachment guards, 2 hair combs, scissors, barbers cape, handheld mirror, spray bottle, two hair clips, detail cleaning brush, blade oil, and convenient soft storage case.
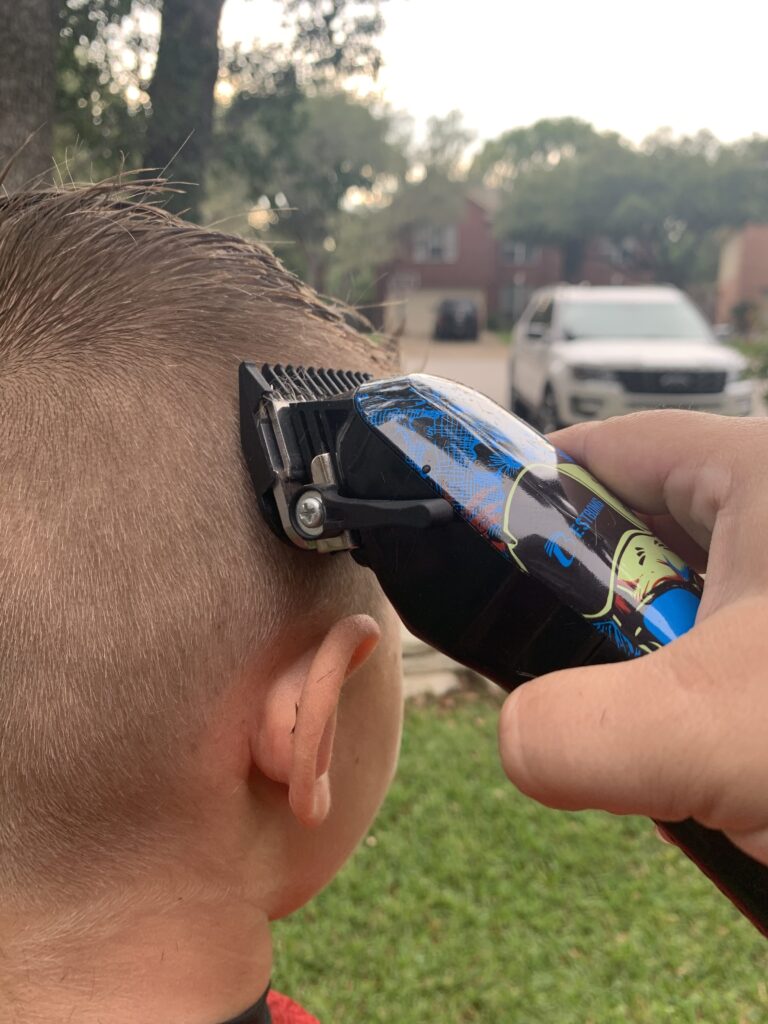
I start with a 1 on the sides and flick out as I get to the top of his head, you can do a fade if you like by taking graduating guards and blending in the middle. There are YouTube videos showing you how if you want to learn. This is something you will have to play with to see what works best with your child’s cowlick. Caden’s is very puffy so I usually go pretty short around it or leave the hair longer on top so it will lay down.
After I have the sides short, I use scissors on top. I usually go finger tip length at an angle on the sides (minus the front) and longer straight at the top. I do this all over. At the front I keep it straight I don’t cut the sides short. The last thing I do is go around with the guard off to clean up around the ear and neck and straighten out his sideburns. Careful around the ear, I hold it at an angle so only a small part of the edge will cut what I want and not any higher. And Voila you are done!
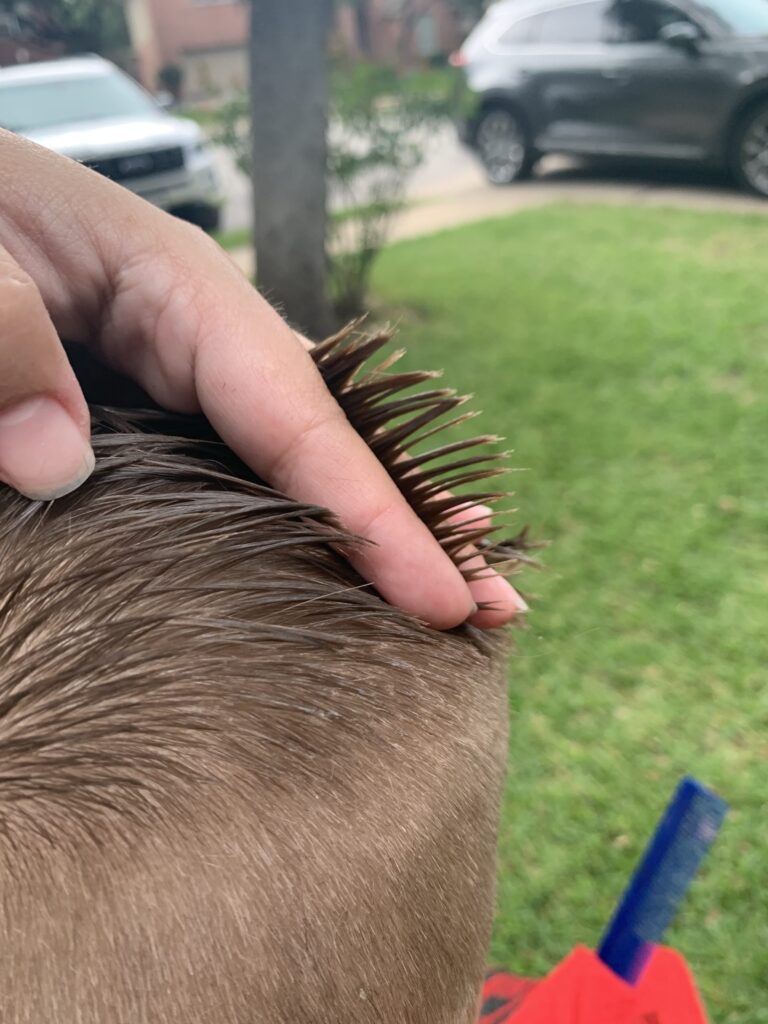
Grab the hair at an angle 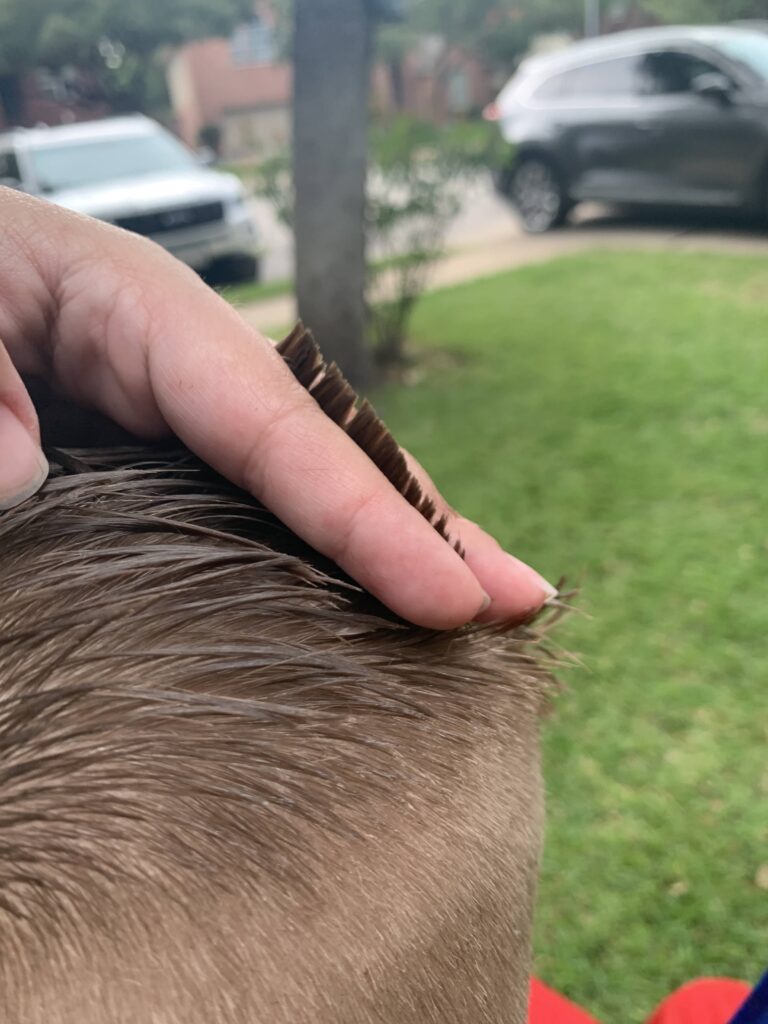
Cut 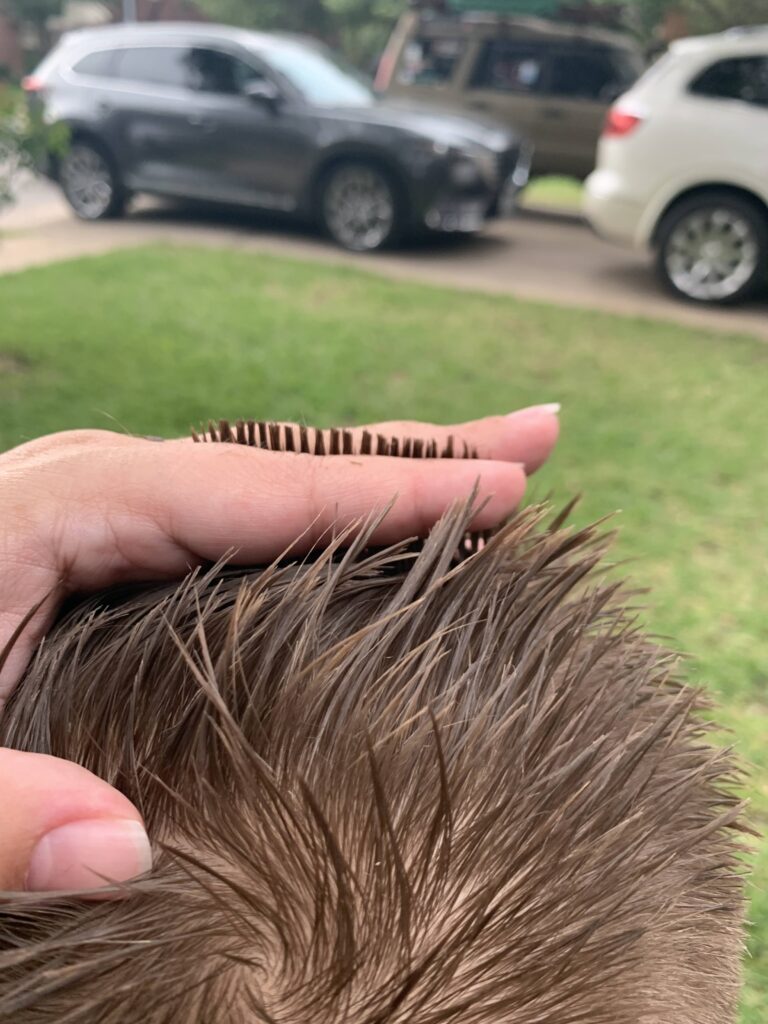
Cut the top straight 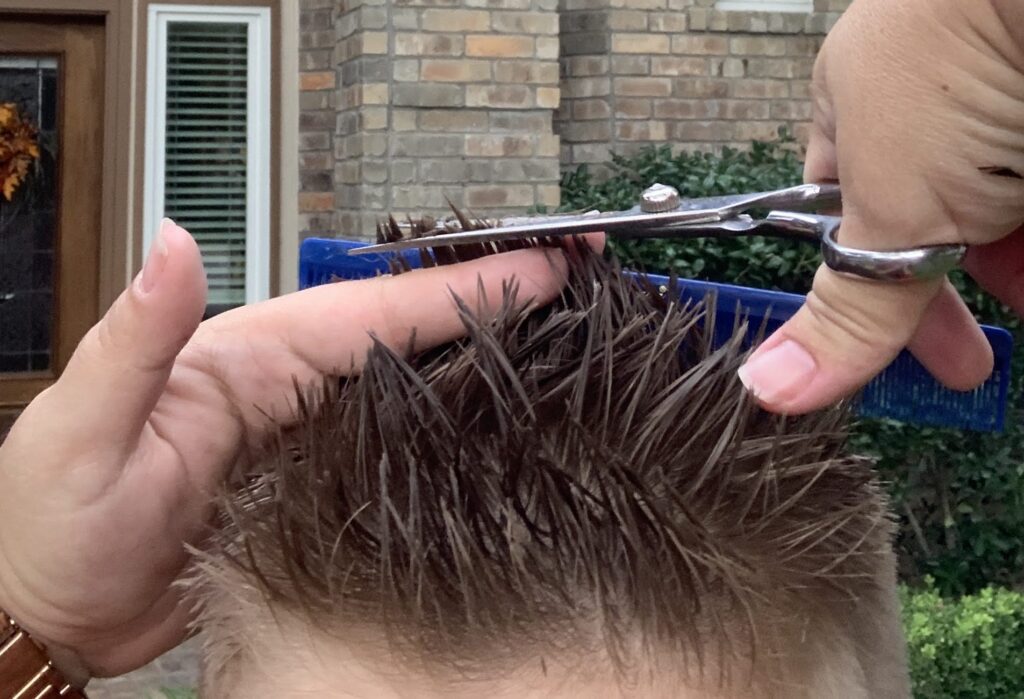
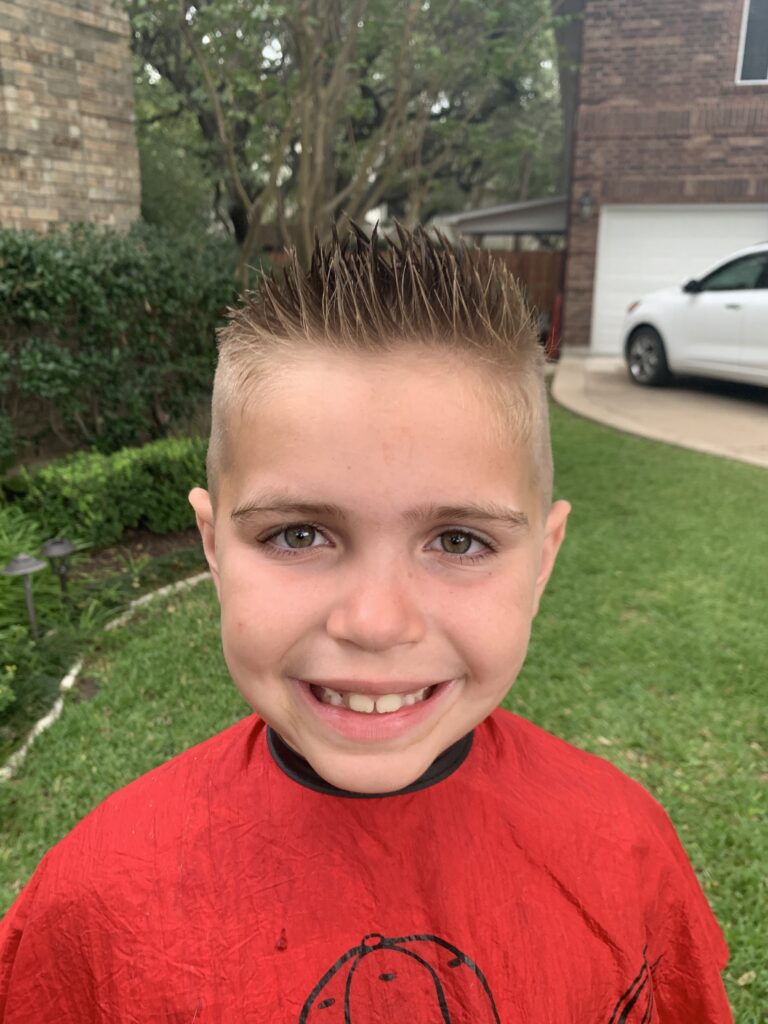
We style to the middle or side but showing straight for reference. The middle is longer for the foe hawk.
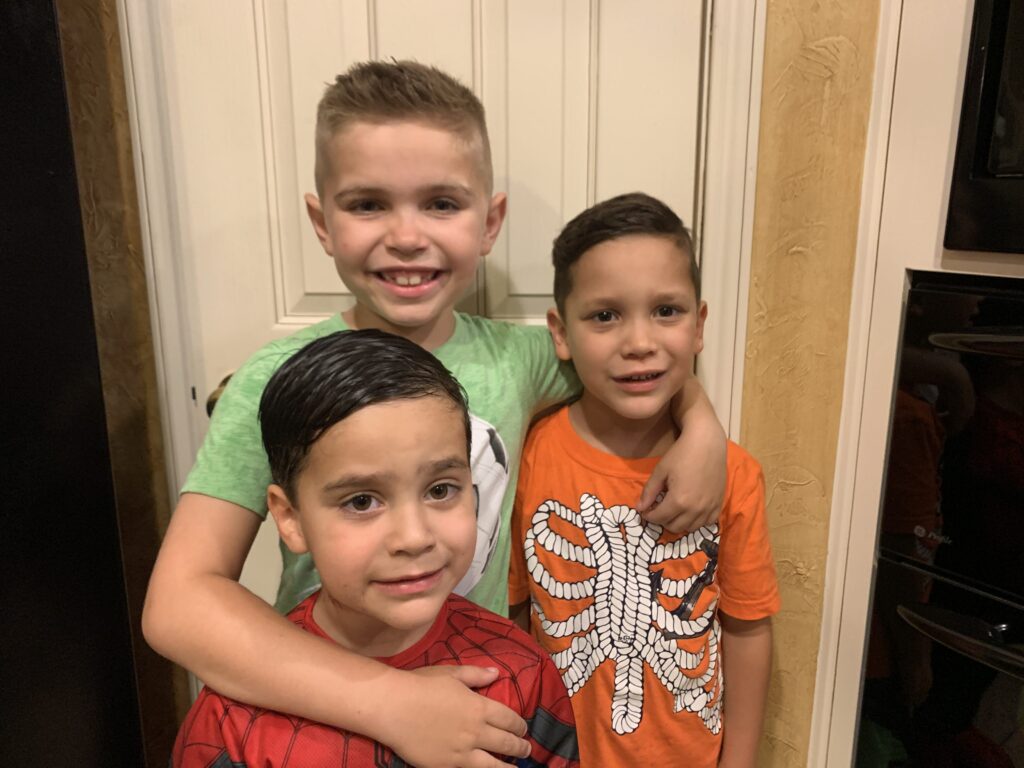
Last night my nephews also came over since the salon was open. They have very different hair from Caden one is very thin and has some curl to it and the other is like straw, thick and straight. It really is amazing to see how much hair varies! For Rocco, I used a 2 on the sides but didn’t go up as high so I could do a fade. Really you couldn’t even see where I faded since it was so thin. I left his top longer since it will curl on the ends. I used the scissors and went straight on top so that when it laid it would be gradually longer.
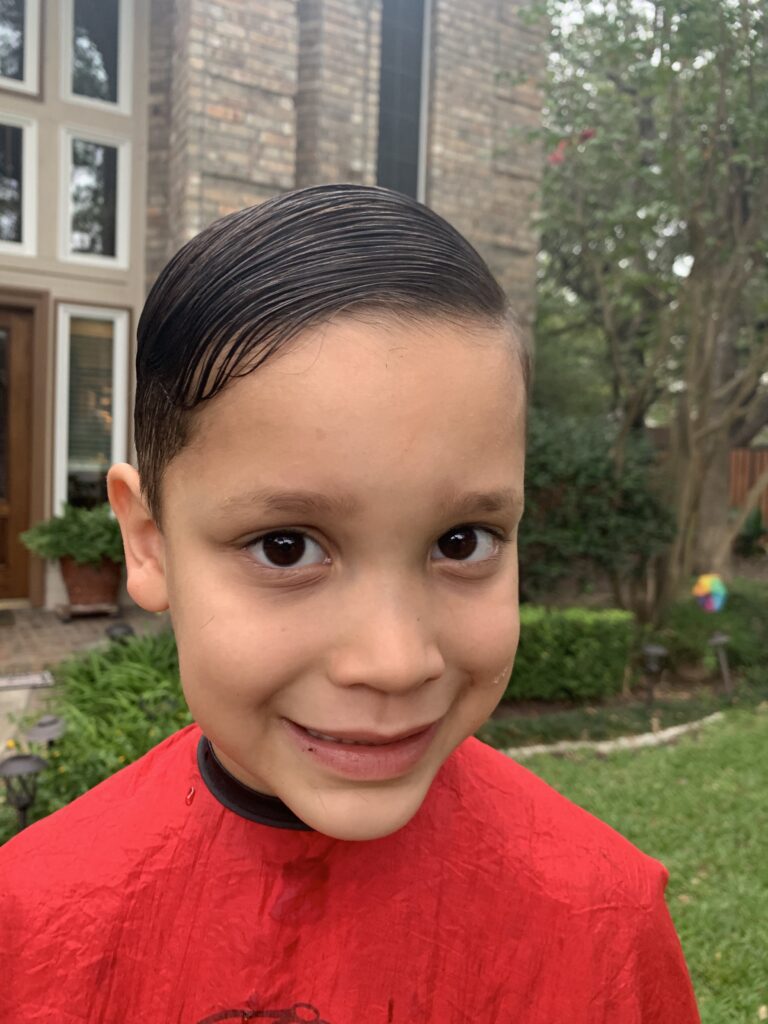
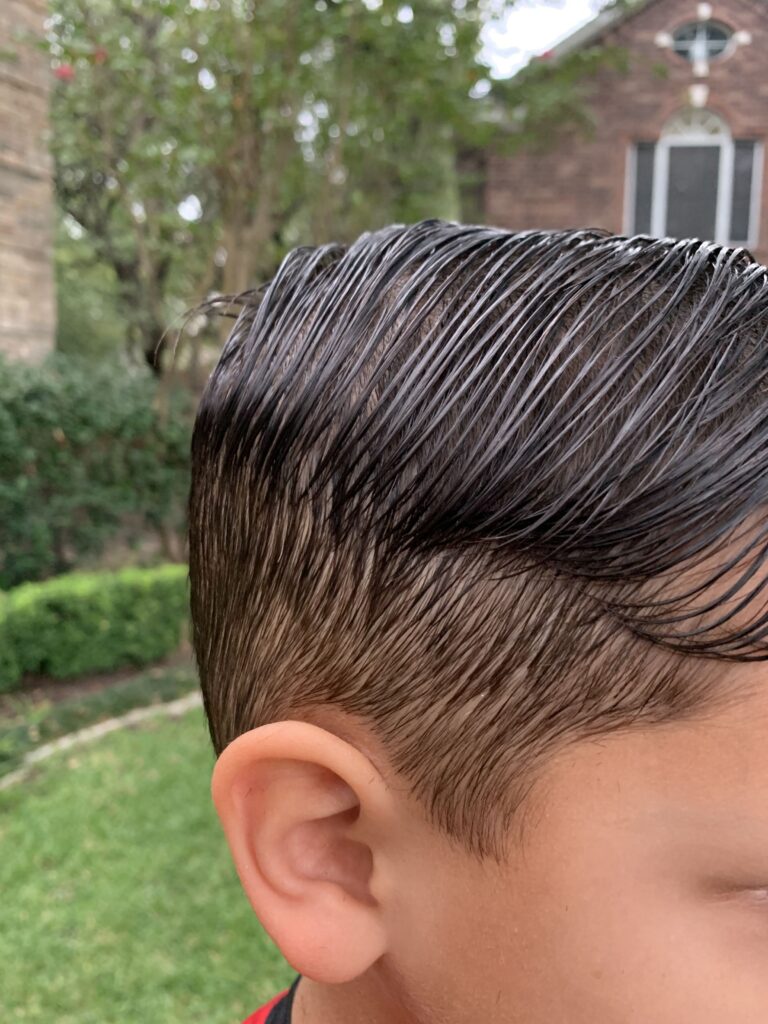
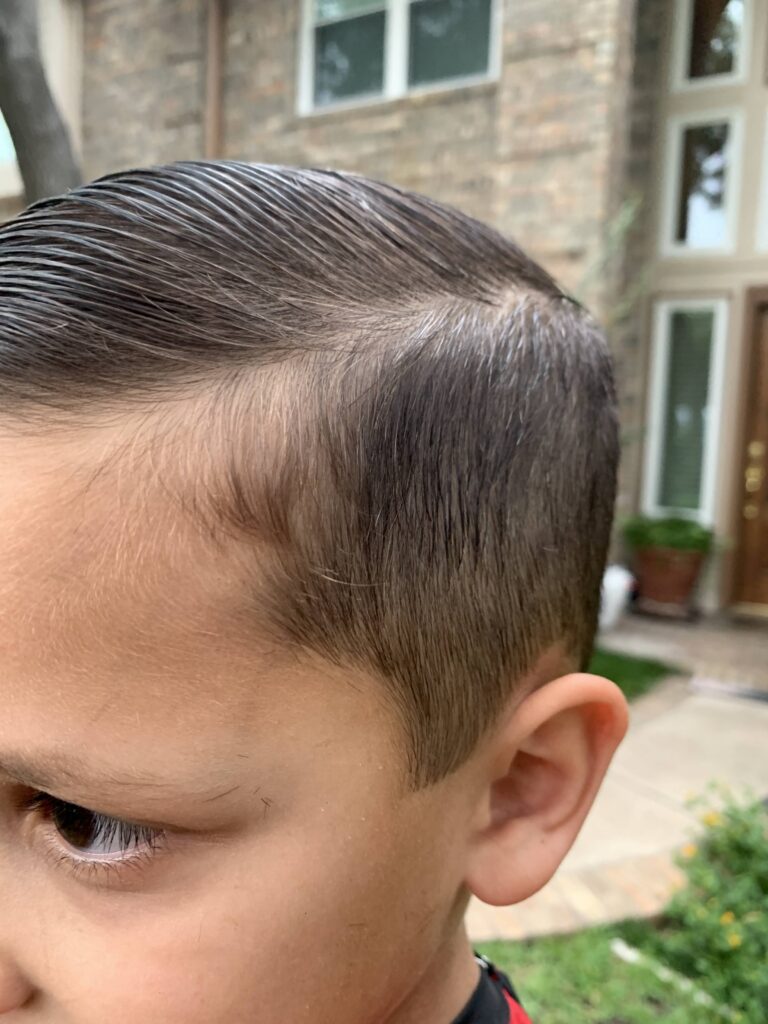
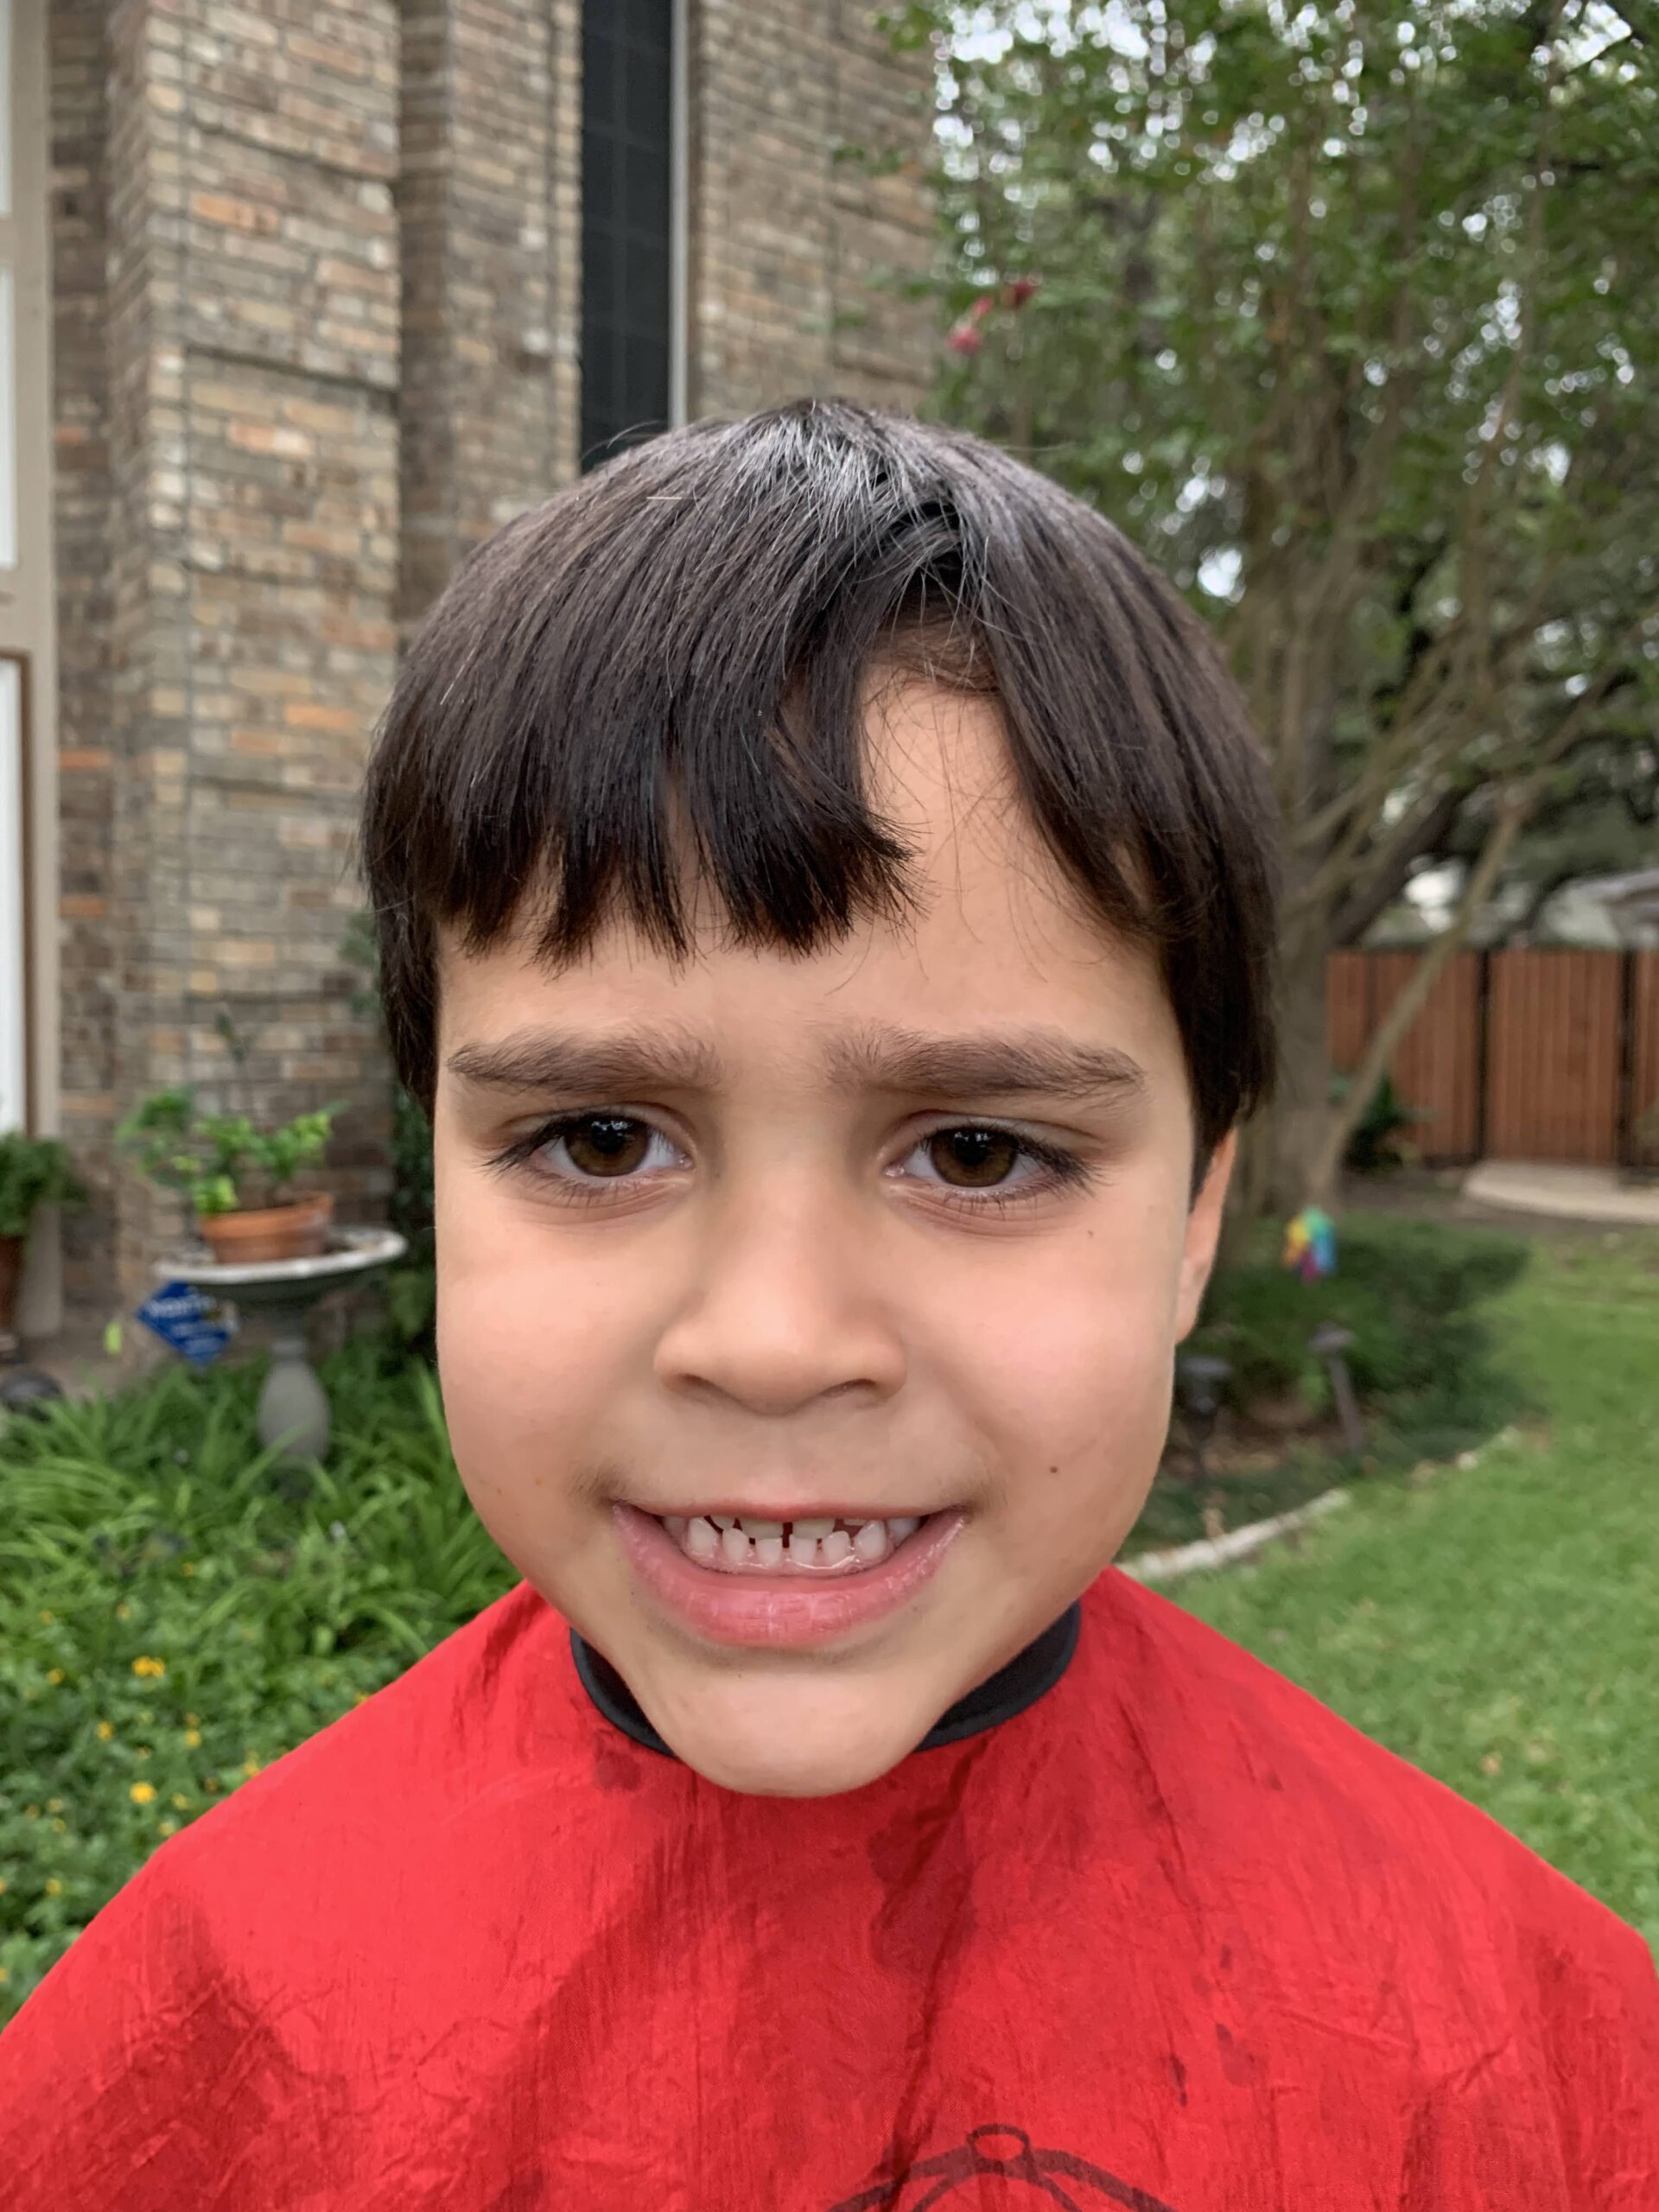
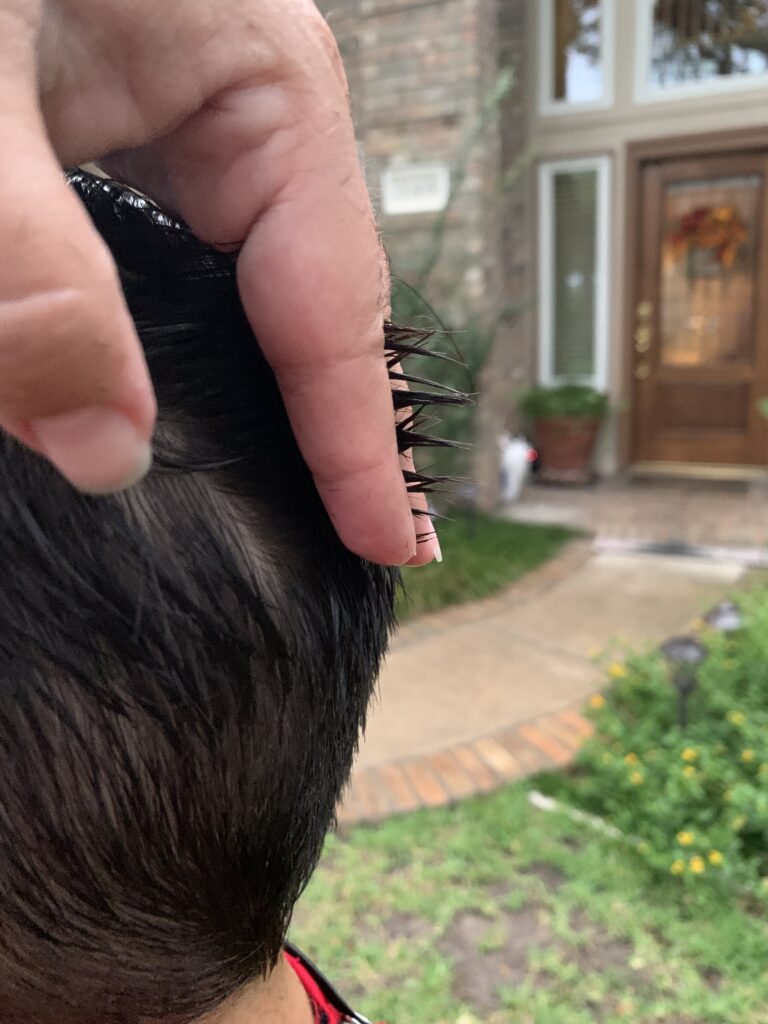
Fade in the back 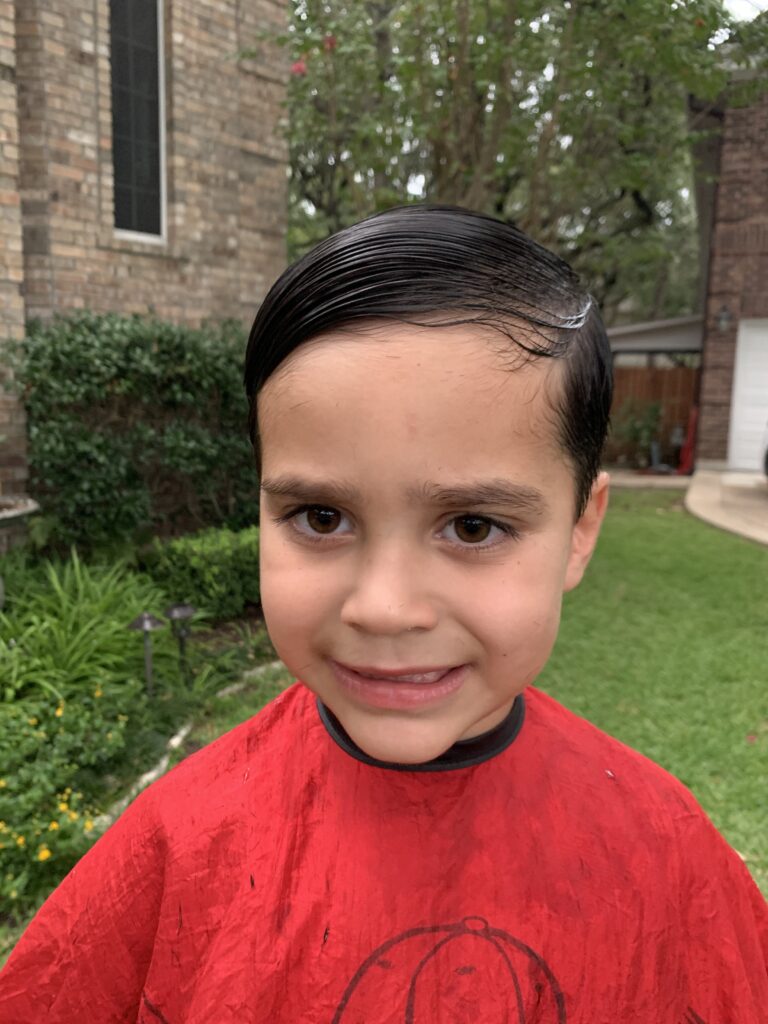
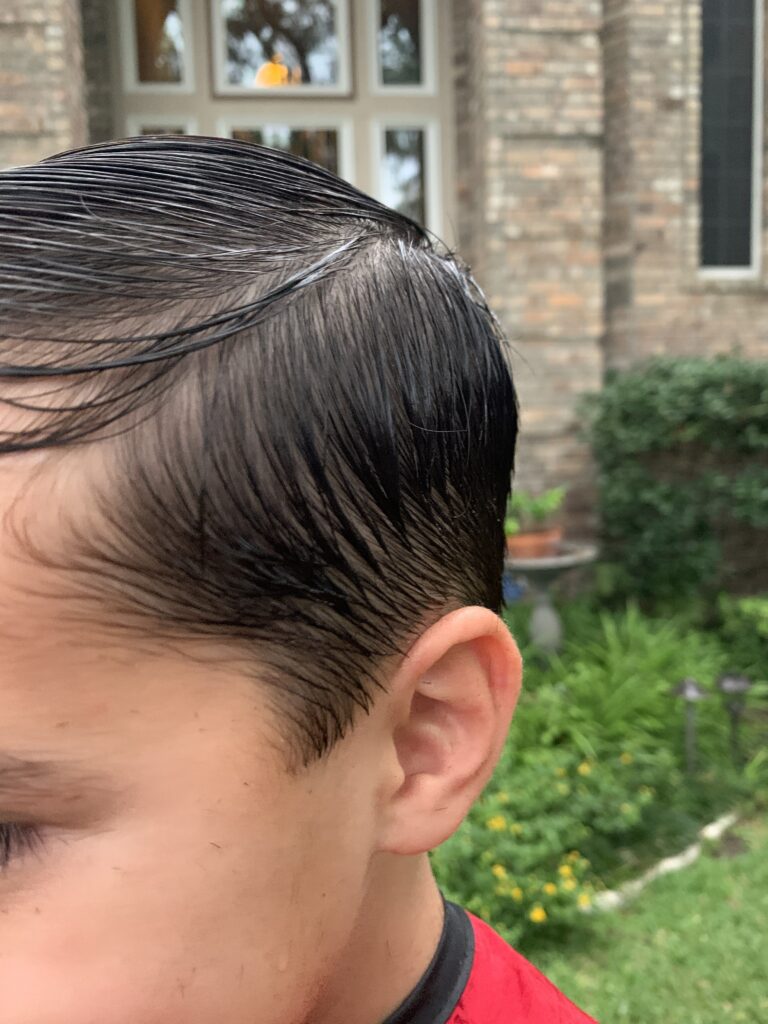
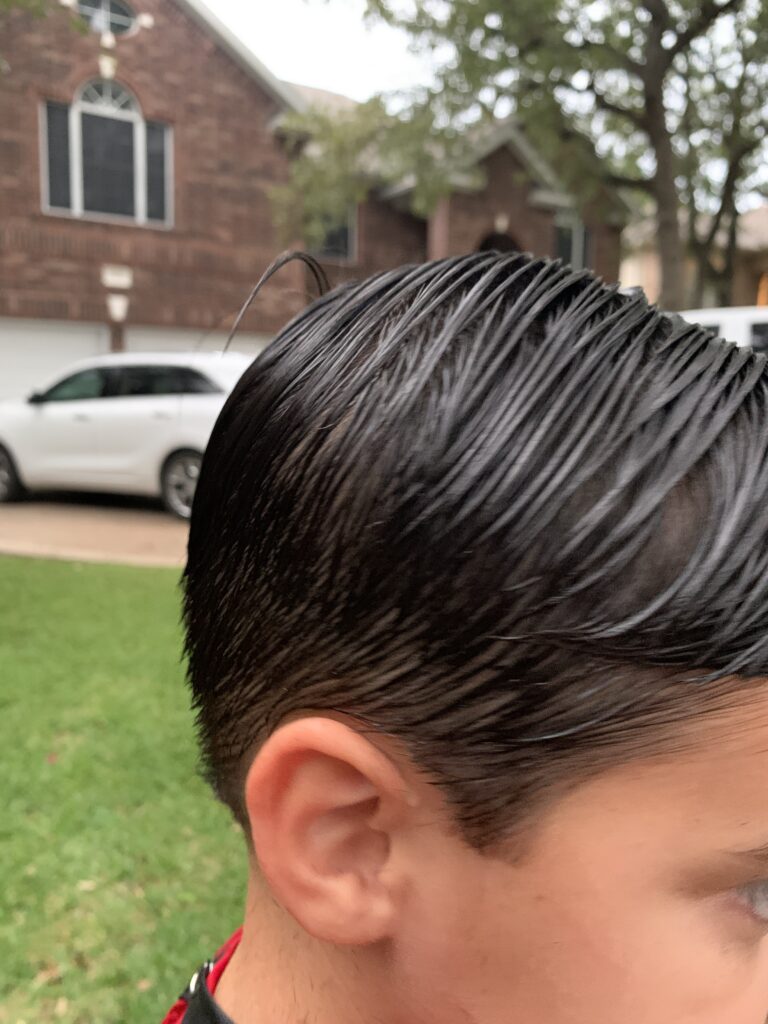
For Milo, I started with scissors and made it all finger length on the side. He had long hair that fell over his ears. Then I trimmed the top to take a little weight off also doing the same holding it straight up and cutting so it would fall to the side gradually longer. Then I went back and did a 2 about an inch all around the edge on his hair to clean up around the ears and neck. I blended this in around the edges using my fingers and comb with the scissors. Honestly, I don’t play with long hair enough but I felt it looked good and even on the sides. I don’t know what it looked like dry but luckily, I see them a lot so I can clean it up later if I need to.
Next time I do haircuts I will see if I can get a go pro and do a recording. Finished product not bad for Free!
