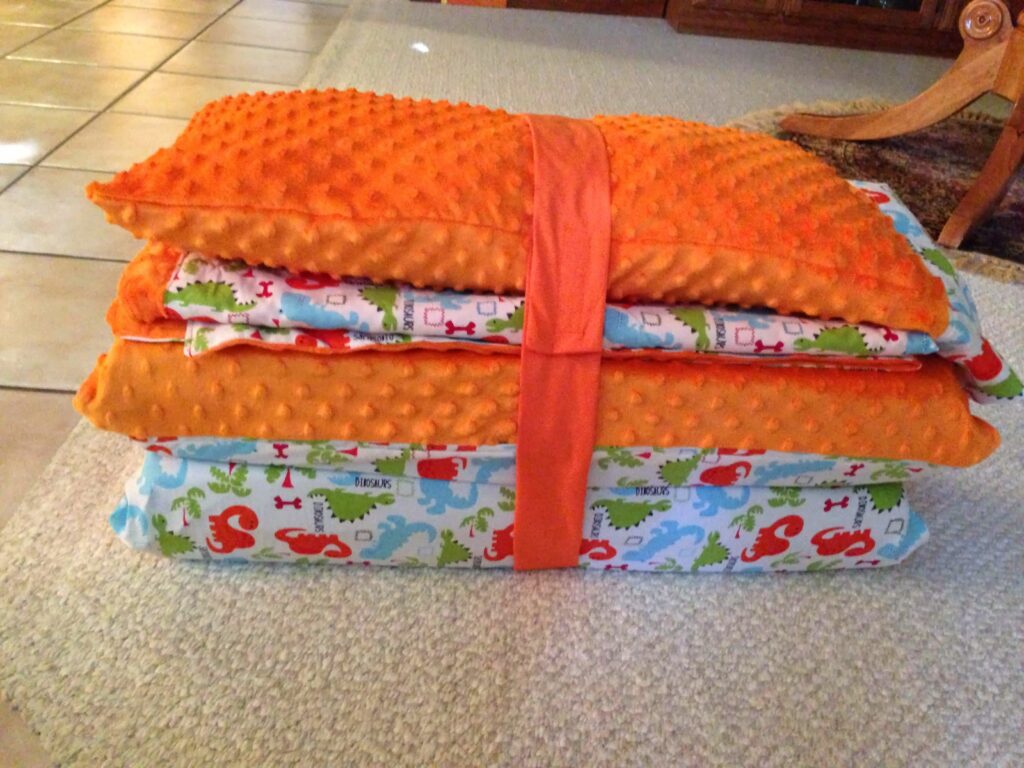
I tend to get adventurous when I see something I like on Pinterest and feel that I can make it myself. I happened to have Grandma in town and tasked her to help me with my plan to make a nap mat cover. I am a beginner at the sewing machine so I was very thankful to have Grandma there for help. I went to Joann Fabrics with my sketch and choose coordinating fabrics. I brought everything home and we got started.
To decipher my diagram I bought a solid color for the bottom, I bought extra to allow for edges. I knew the nap mat was 48 inches long so I bought 51 inches long and made sure it was greater than 24 inches wide. I think most are about 36 inches wide.
Fabrics come in various widths, so a yard of the fabric refers to the length of material only. The material is unrolled from the bolt, and you should measure 36 inches or 3 feet. That’s precisely how much a yard of fabric is.
For the minky I allowed 36 inches for the blanket and 36 inches for the pillow and top of the mat. For the Dinosaur material I got 36 inches for the blanket and 38 inches for the top of the cover. I had a lot left over but I ended up using it for another craft I will share later. I bought 1 foot of green for the name and 1 foot of coordinating orange for the backing of the name. I ended up using the extra orange from the back of the mat for the strap. 22 inches of white for the pillow. 1 bag of polyfil for the pillow. Lastly, 1 foot of double fusible interface for the name.
We started with the orange back and cut it to 49×25, then put the dinosaur fabric on top 36×25. We put both tops facing inside and slid the nap mat between and pinned the edges for size. Leave some room for shrinkage after washing and drying. For the bottom we turned the edge and added velcro so we could remove the mat for washing. Before sewing, under the velcro in the center of each side of the bottom, we added a long strip for carrying. We took a 3 inch wide piece we folded in half sewed the edges under, but left it long till we could see the exact placement when everything was completed. This way the velcro could close but the straps could go in opposite directions to go around the mat, blanket, and pillow for carrying. When everything was done we added velcro at the correct length, the cut and finished the edges of the strap. Once we had the 3 sides of the cover pinned, still inside out, we added the minky to the top in the same way (inside out) we took 13×25 and pinned all the edges for sewing. This gave the minky for the area under the pillow. Now we removed the nap mat and sewed all the edges and the minky leaving the bottom to close with the velcro.

We made a thin pillow with 22×23 inches folded in half of white material. Do the same thing inside facing together pin the edges sew all the way around except for one corner about 2 inches push all the material through the hole till it is inside out the correct way and fill with polyfil. You want to stuff it pretty good, more than you think. Once filled sew the gap with the machine or by hand. We did the same thing with the minky to make a pillow case folded in half sewed around the 2 edges and left one side open to remove the pillow for washing. Grandma added a dinosaur edge of material folded in half and sew the edges to the minky edges.
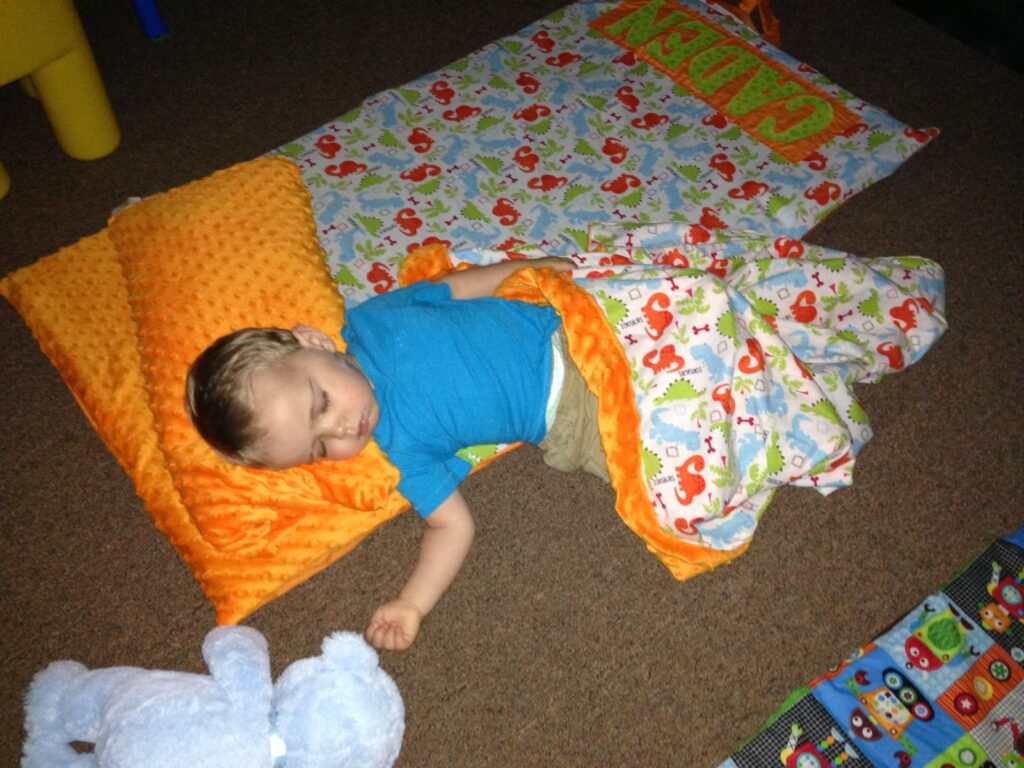
For the blanket 36×36 of both the minky and dinosaur facing out we turned in the edges pinned and sewed them together. Grandma hated sewing the minky it pulled differently than the material so doing both together was difficult but pins are your friend to keep the material in the correct place. For the letters I printed out a font and size I wanted on the computer. We took double sided fusible interface (double stick iron on) and pinned the letters I printed and cut around them by hand. Now I have a silhouette which would have been my choice to cut easily but we did it manually for this project. So now we had the letters and interface cut out and pinned together. We took a piece of orange material for the backing and ironed on the letters. Grandma sewed under the edges of the orange and then we added it to the dinosaur fabric.

And there you have it our project was complete! My son loved it and used it for the 3 years he was able to nap in preschool. To this day he still uses the pillow and blanket for trips in the car or he is easily able to fold it up in his backpack for trips on a plane. This is a great size blanket to use in a stroller or to cover up your little one in the car seat. Here he is on his first day of school ever! WHAAAA 🙁 I miss those days when he was so little!

Hope you enjoy and if you have any comments or questions let me know below.


I remember when we worked on this. It was such a fun time!
Grandma