I have been making diaper cakes for friends for a long time! It makes a great centerpiece for a baby shower. I make them so they are easy to make and easy for mom to use. I can make a 3-layer cake in about 30 minutes. The average cost of supplies with diapers is about $50. It will take a little planning since you will need to make a trip to your local craft/ hobby store for ribbon and stickers, you can also find the cake base and floral wire there. Then a trip to the grocery store or Target for diapers. Or you can buy them all on Amazon!
Items you will need:
I always use the Wilton 14in cake base. (It comes with 2)
1 box of size 1 diapers- I’m partial to Huggies Snugglers. They are soft, plain at the bottom, and they were my favorite diaper with the leak guards.
1 bag of Newborn Huggies Snugglers.
Any ribbon for your theme. I usually get two one sheer wired ribbon about 1.5 inches and one with a decoration about 1 inch.
Floral wire to make the bow
Any embellishments (stickers, jewels, ect)
Creative Working Mom is an Amazon Associate, I may earn a small fee from qualifying purchases. Thank you for your support.
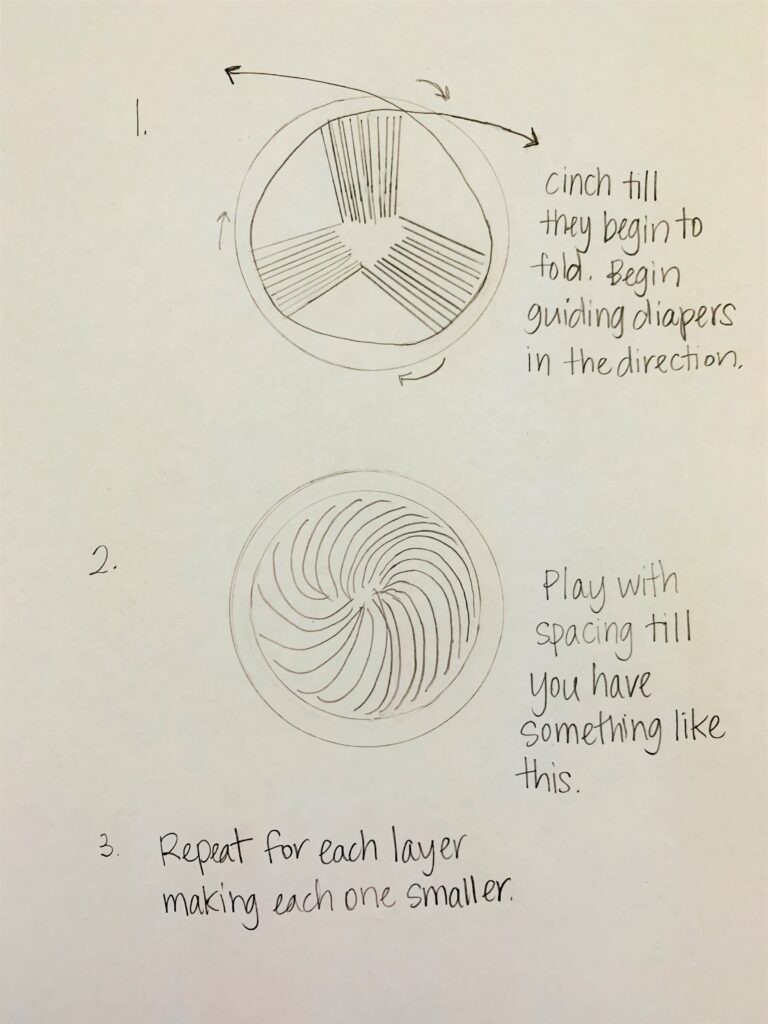
- I start with the cake base to see the size of the first bottom layer. I put the diapers in 3 groups with the waist band in the middle so that the fold is the outside. Make sure you put the diapers facing the same direction. You will use the size 1 if you get a box there will be 2 sleeves. Use one sleeve plus about ¼ of the next sleeve. I wrap a string around and cinch it till it is the size I want and the diapers are beginning to fold. I help to guide them in the right direction.
- Next, I begin spacing the diapers. I take each group and fold them over and begin making them into a slight C shape. You may need to add in more diapers. Each top layer will be more and more curved. I used to place a dow in the middle but then realized each layer is heavy enough it can just rest on top of each other.
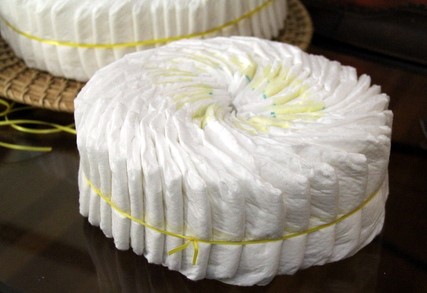
- You will repeat the process for each layer making each one smaller. For the middle layer I use the rest of the size 1 from the second sleeve of the box. For the top layer I use the whole bag of the newborn diapers. (I let the mom know the sizes and to use the top layer first.) I prefer to use this C method to keep the diapers in a good shape to use them. Mom can just pull one out as needed.
- Lastly, I decorate. I like to use a wide 1.5-inch sheer wire ribbon and then a 1-inch decorative ribbon on top for the layers. You can do whatever you like here! I just use clear tape for the back of the ribbon.
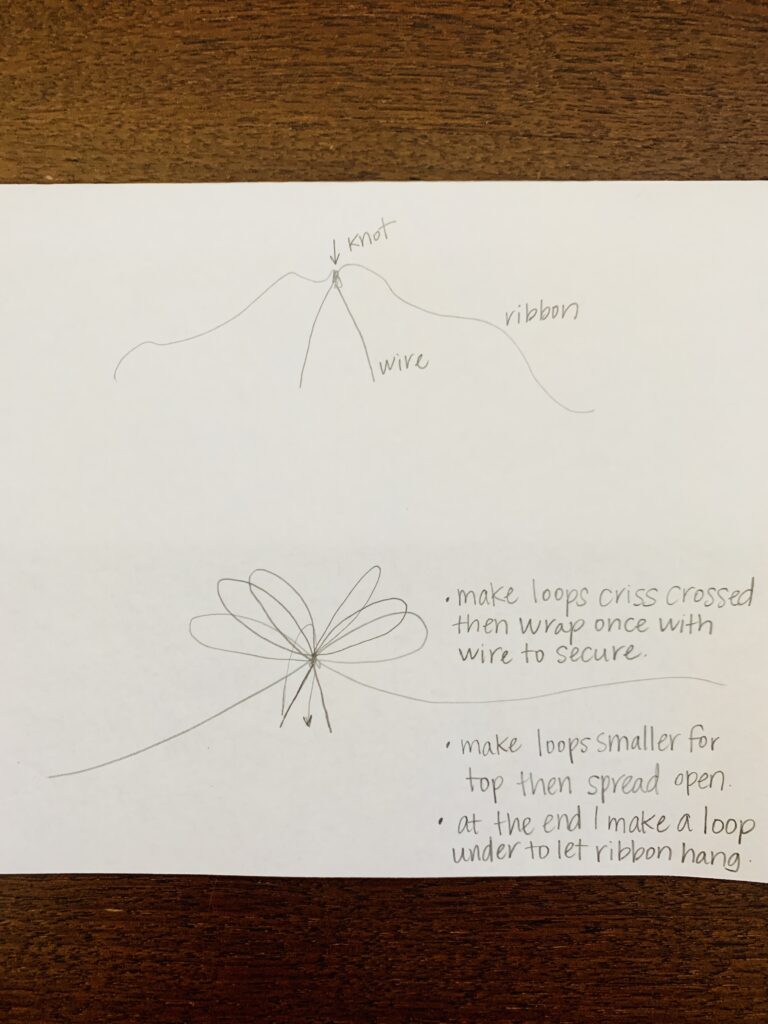
- Then I use the sheer wire ribbon to make my bow. (Hint if you go with a sheer rather than a decorative then it doesn’t matter how you alternate the material.) I’m sure people have better ways of making bows, but this method has worked for me. I like to use floral wire to make my bow. I start with a knot in the middle of a long piece of ribbon about 3 feet long. I add about 8 inches of floral wire through the knot. From the knot I make the first criss cross a little smaller than the top layer. After both sides criss cross the center I wrap it once with floral wire to secure the loop. I do this many times till the bow is full making smaller loops at the top. For the last loop instead of going over criss cross I go under and let the ribbon ends hang down. I then spread out all the layers to make it full with the wire in the you can mold the bow to your liking. I use the ends of the wire to go through the center of the top layer to secure the bow. Once you have the bow in place you can cut the hanging ribbon to the length you desire.
- Add any embellishments. I like to use stickers to decorate. Add the baby name if known. You can even add in a pacifier in the bow.
Below I wrote out some visual guidance on how I make mine.
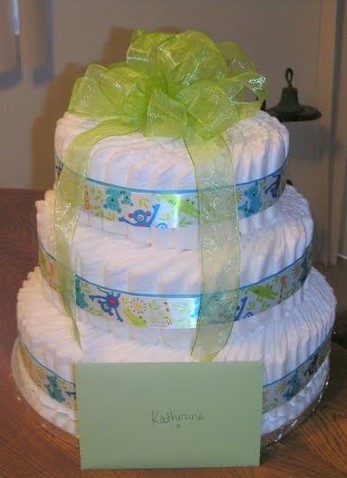
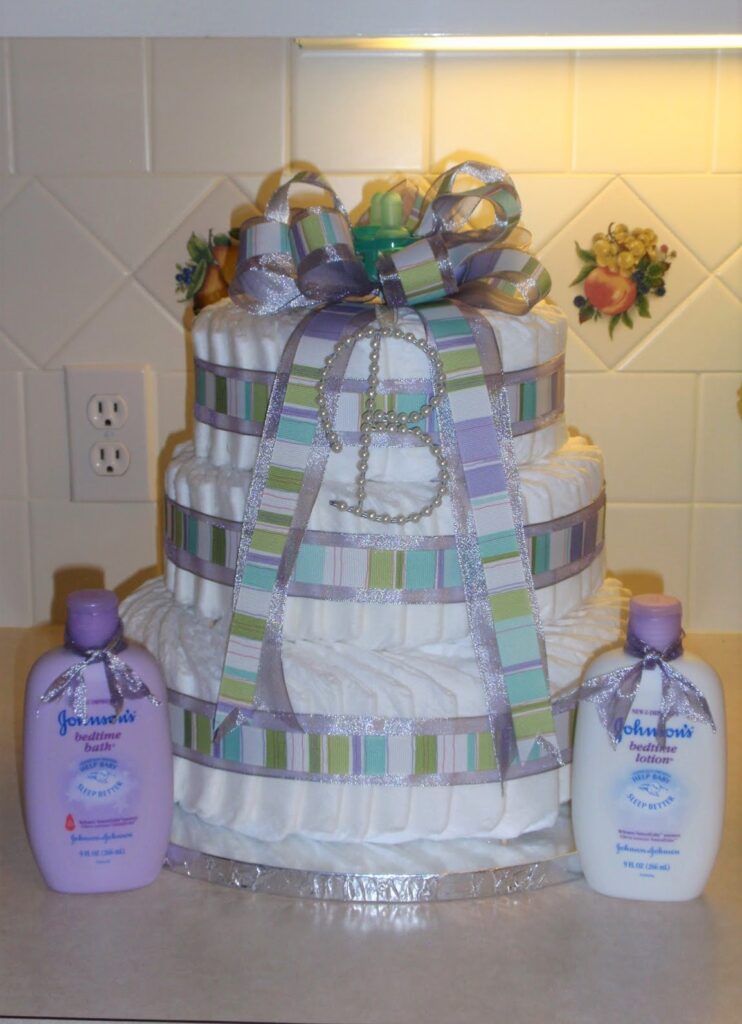
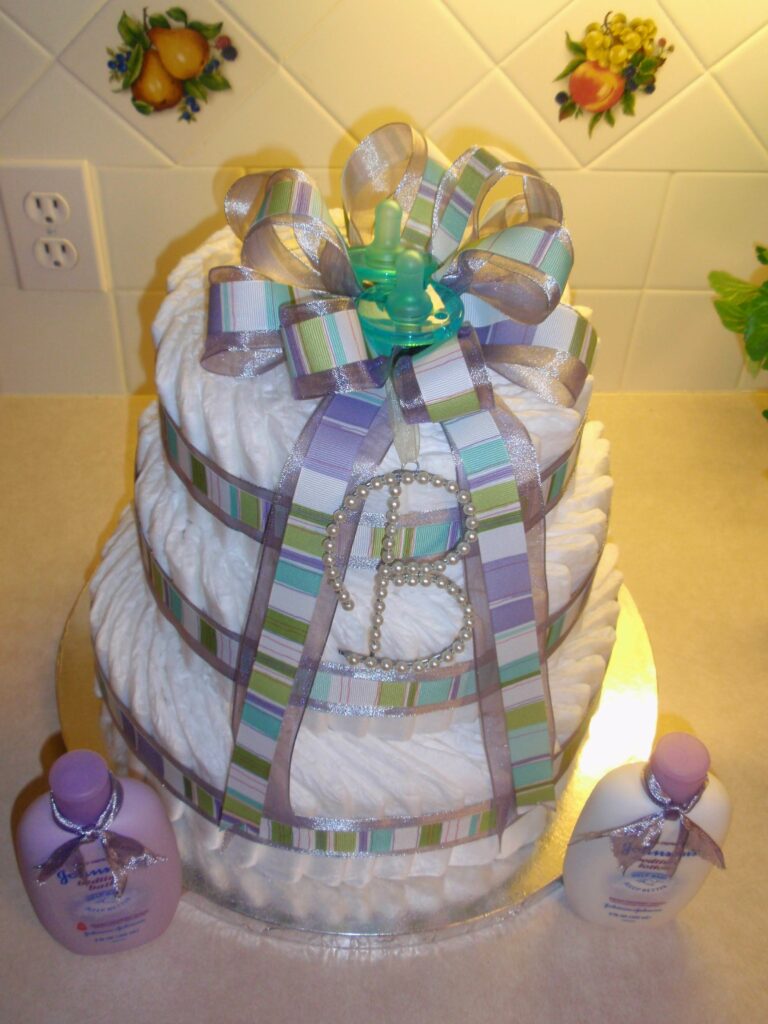
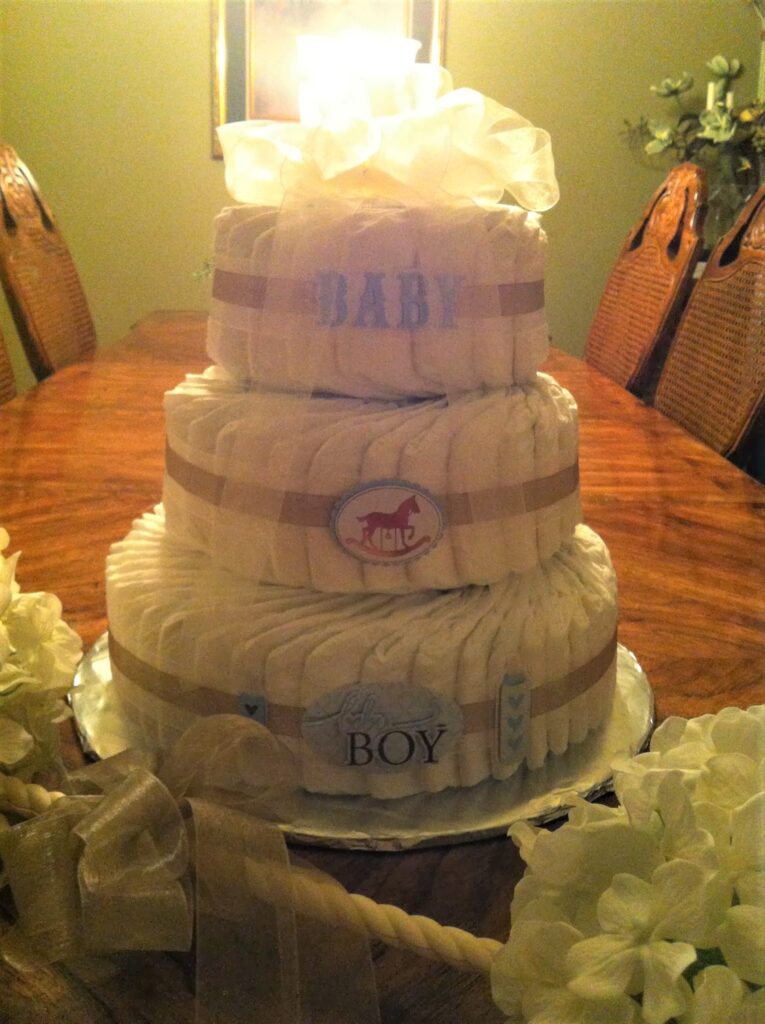
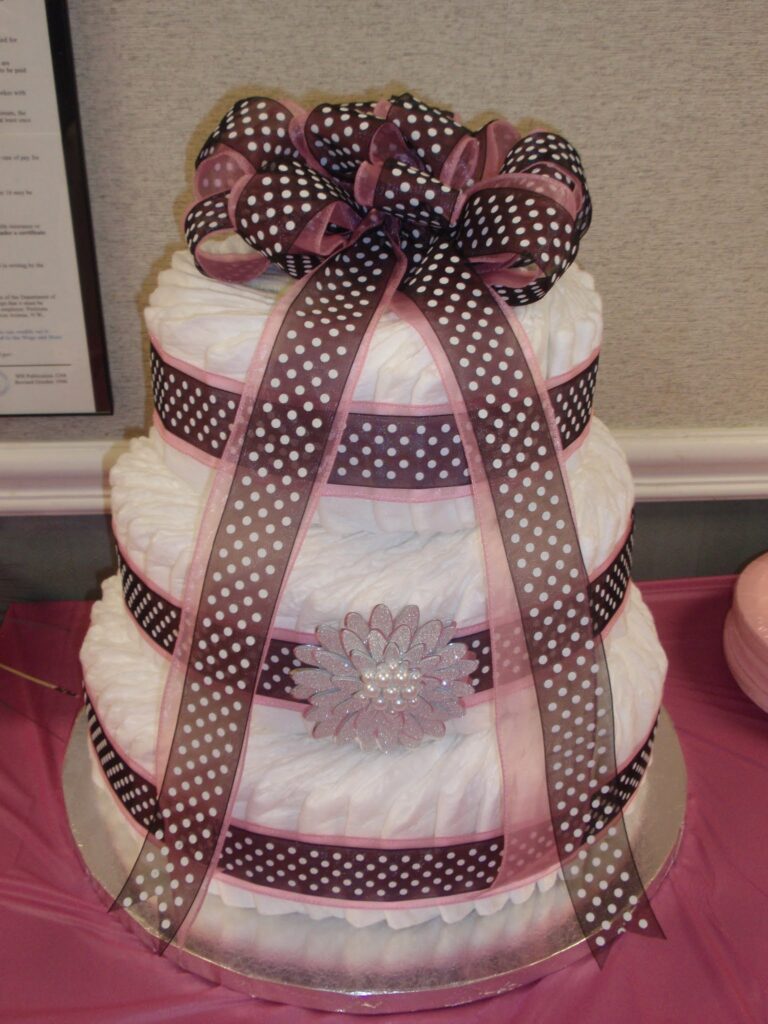
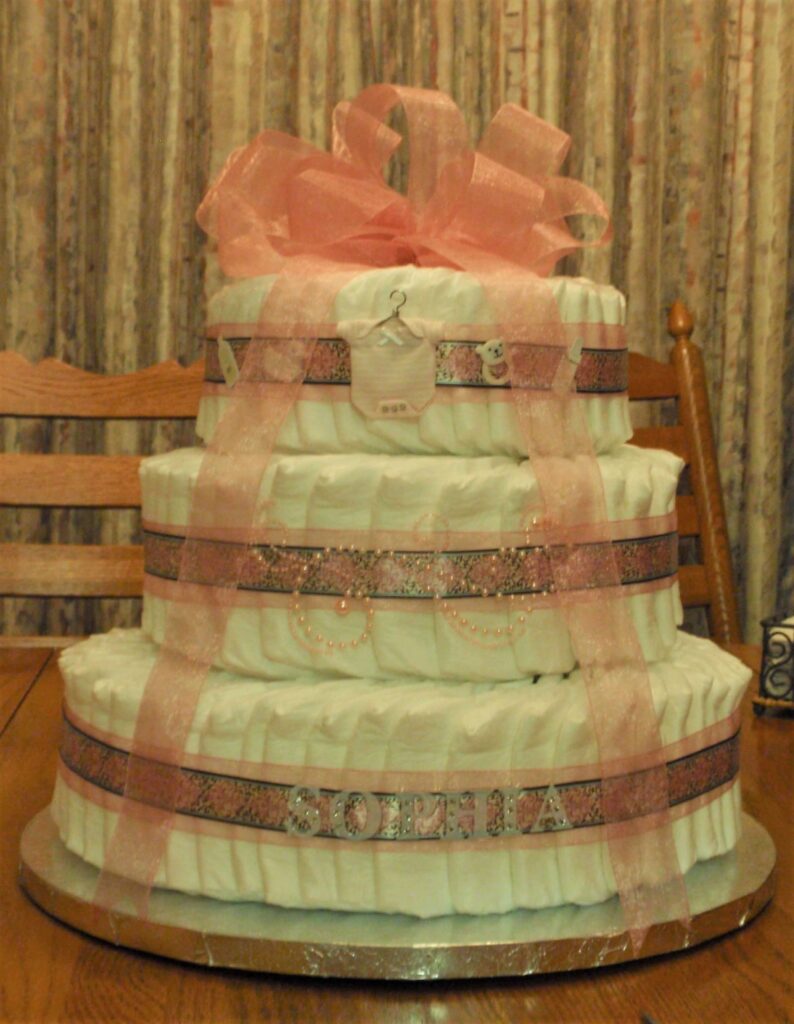
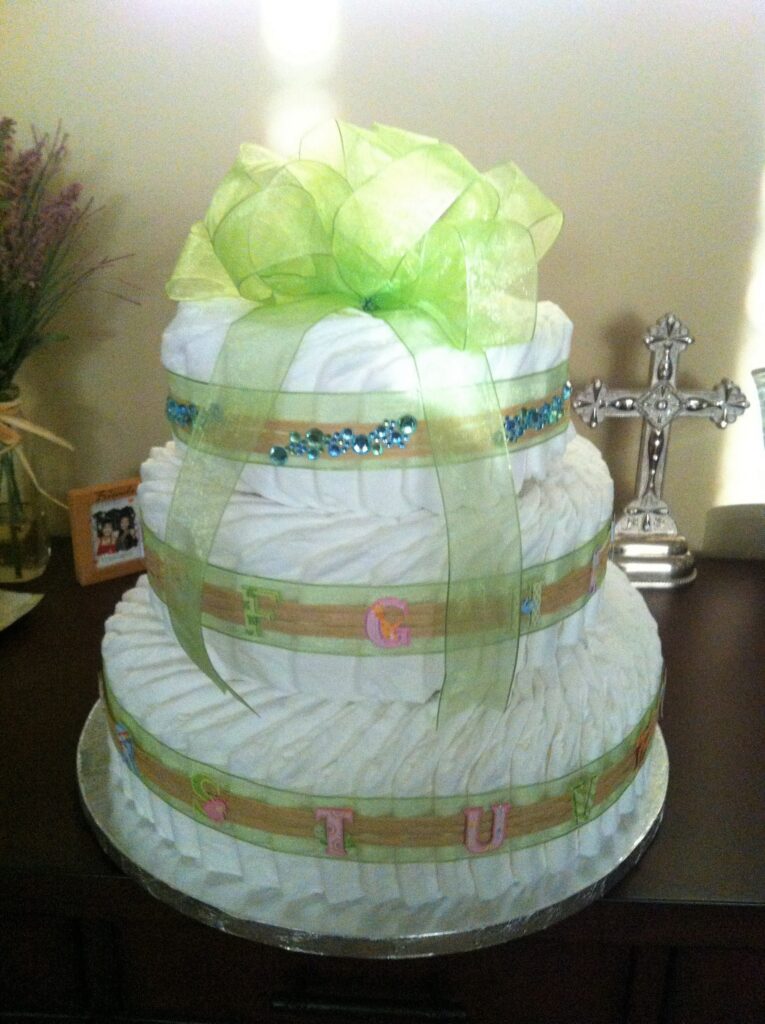
Here are some of my creations. I get most of the stickers in the scrapbook section. I used my silhouette to cut out some of the names and then use glue dots to make it stick.
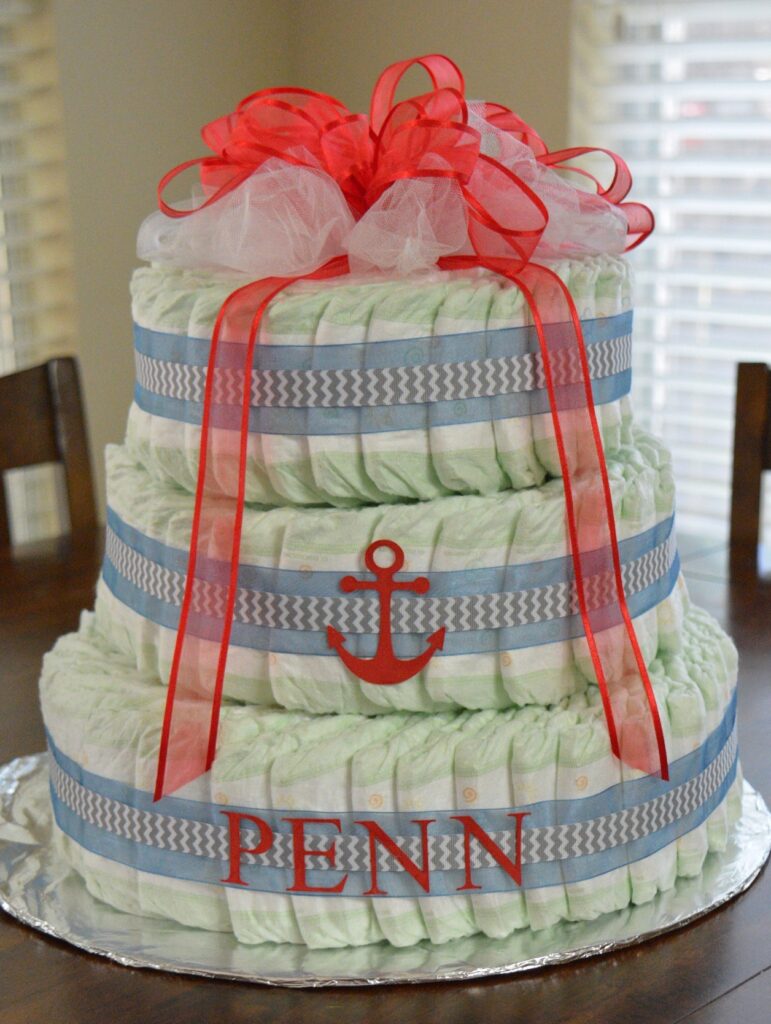

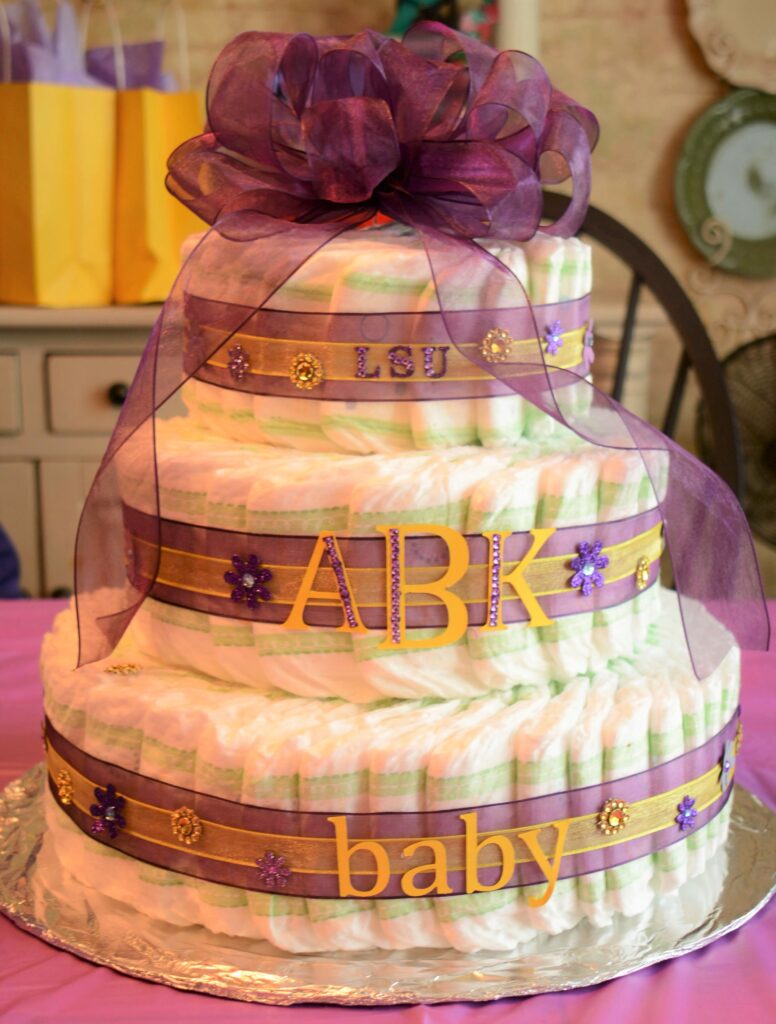
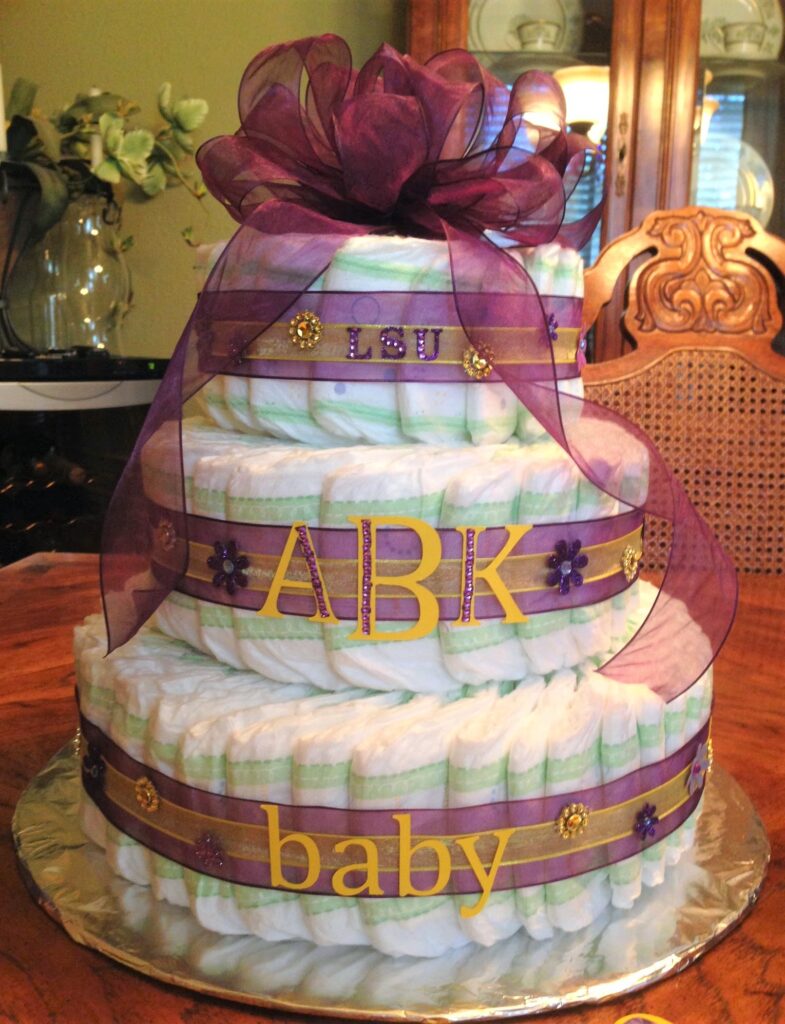
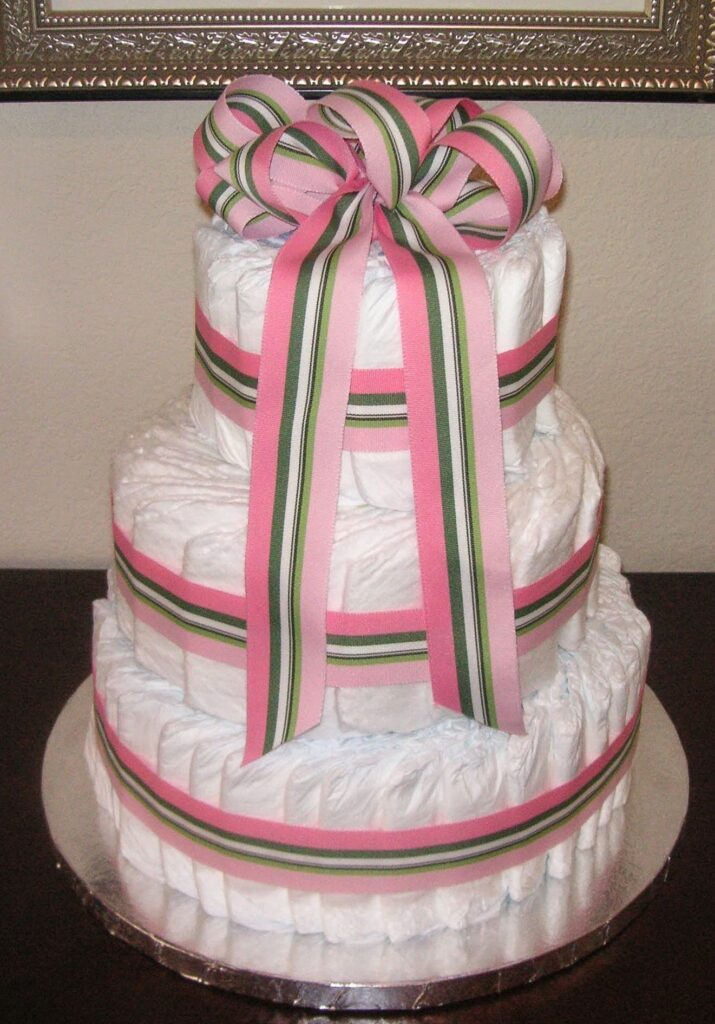
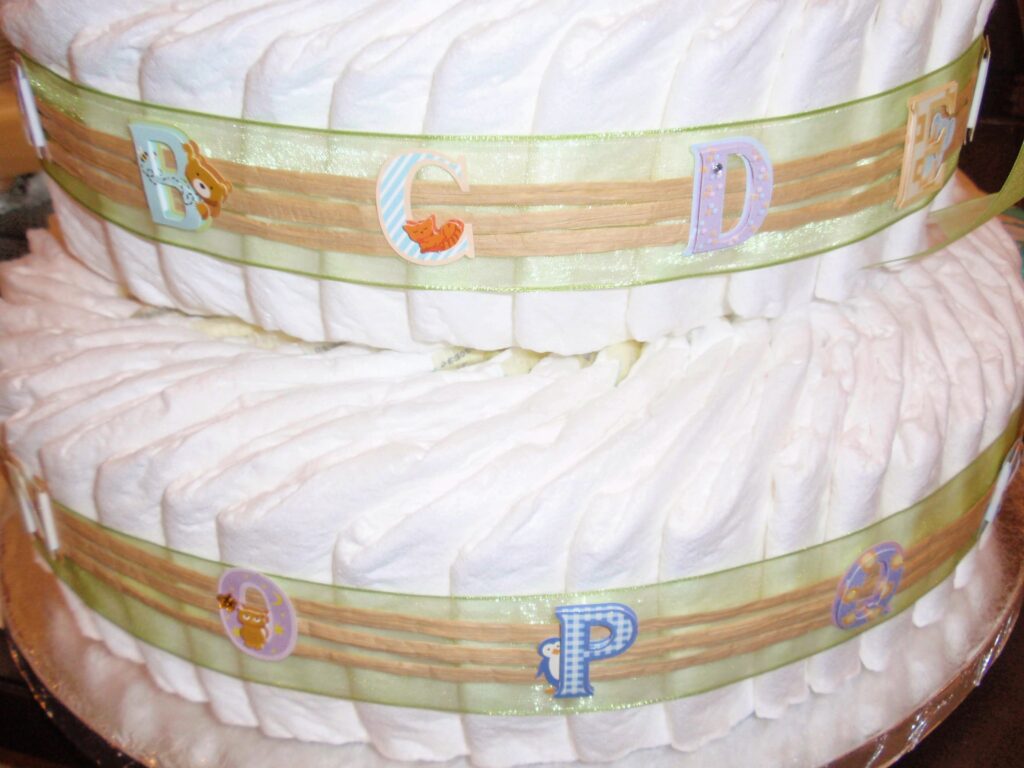
This is with the second layer pushed back to show how the diapers stacked
Enjoy all the ooo’s and ahhh’s. If you make one, I’d love to see your finished product in the comments. Hope you enjoy and have a fun easy idea for your next baby shower gift.

