I have always seen these and thought someday I’d like to try one. I decided to buy one in doing my son’s room remodel. I have to be honest I was a little worried about making it but to my surprise it was easy and I had fun. I would even like to make one that is more elaborate in the future.

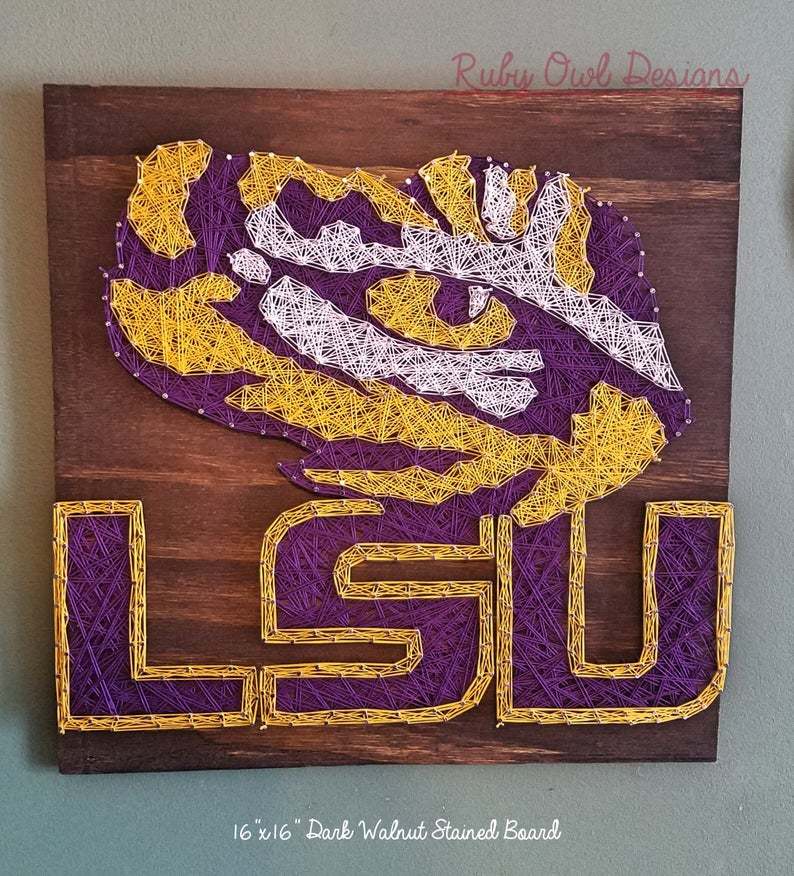
I bought a kit on Etsy from Ruby Owl Designs. It came with the nails pre hammered, I was able to choose the color stain on the wood, it also came with all the string, a hook, and a map to follow. I was able to follow along easily. I started with the white and I decided to do one hexagon at a time so the string pattern was in each hexagon. I’m sure there are videos telling you different ways to do the string but I decided to just go for it- I started going around like kind of like the spiral wheel I used to play with as a child. When I made a circle, I changed the order. I continued this with each hexagon till I had all the white done. Oh, one thing I had to do was push down the string after each hexagon was done. When the white was done, I started on the black. As I moved from one black hexagon to the next, I completed the outline. I found I had to go around the nails several times for the outline to stand out.
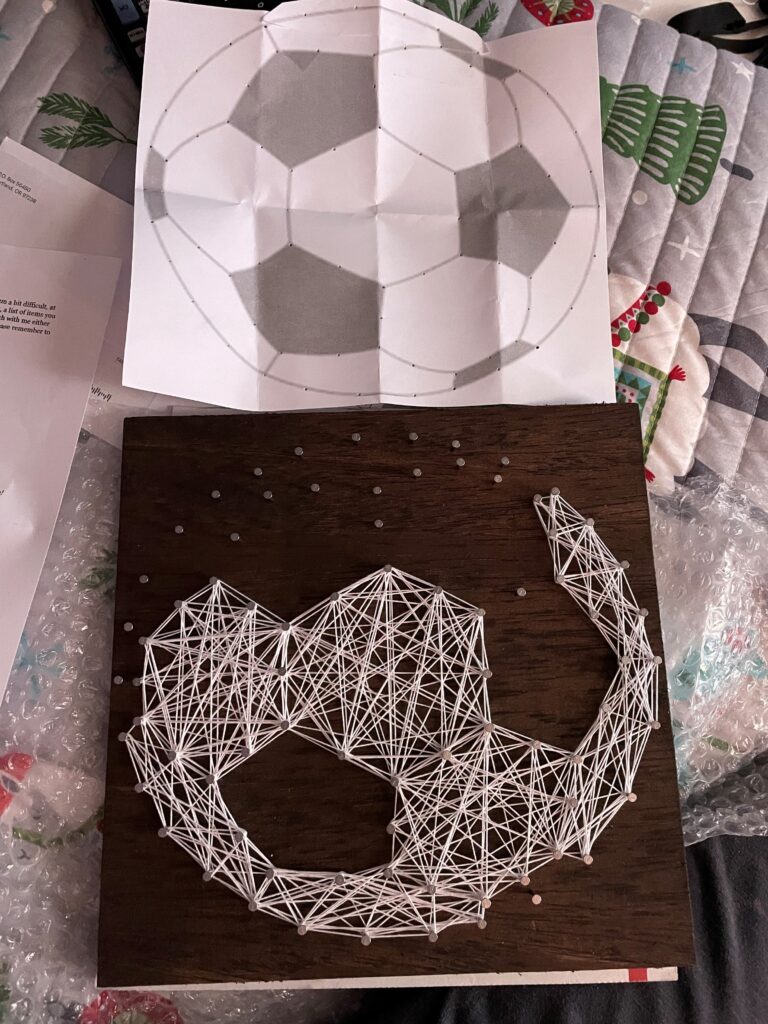

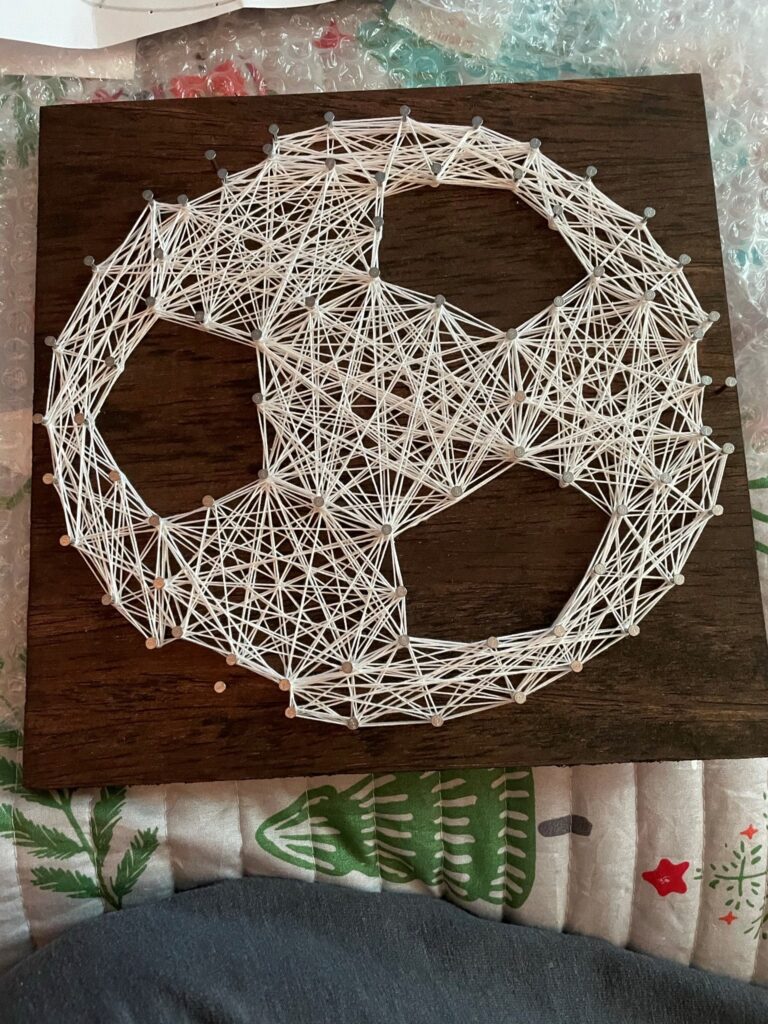

This board took me about an hour and fifteen minutes. Looking here at the finished photo I can see I still need to add the black points of the hexagon on 2 spots. Oops! Not too bad and I have to say it was a lot of fun for a craft project. There are so many fun kits available, I would say get one! Have fun!